> ## Documentation Index
> Fetch the complete documentation index at: https://docs.withflex.com/llms.txt
> Use this file to discover all available pages before exploring further.
# Quick start
> Connect Claude, Cursor, or another AI assistant to your Flex account in under five minutes.
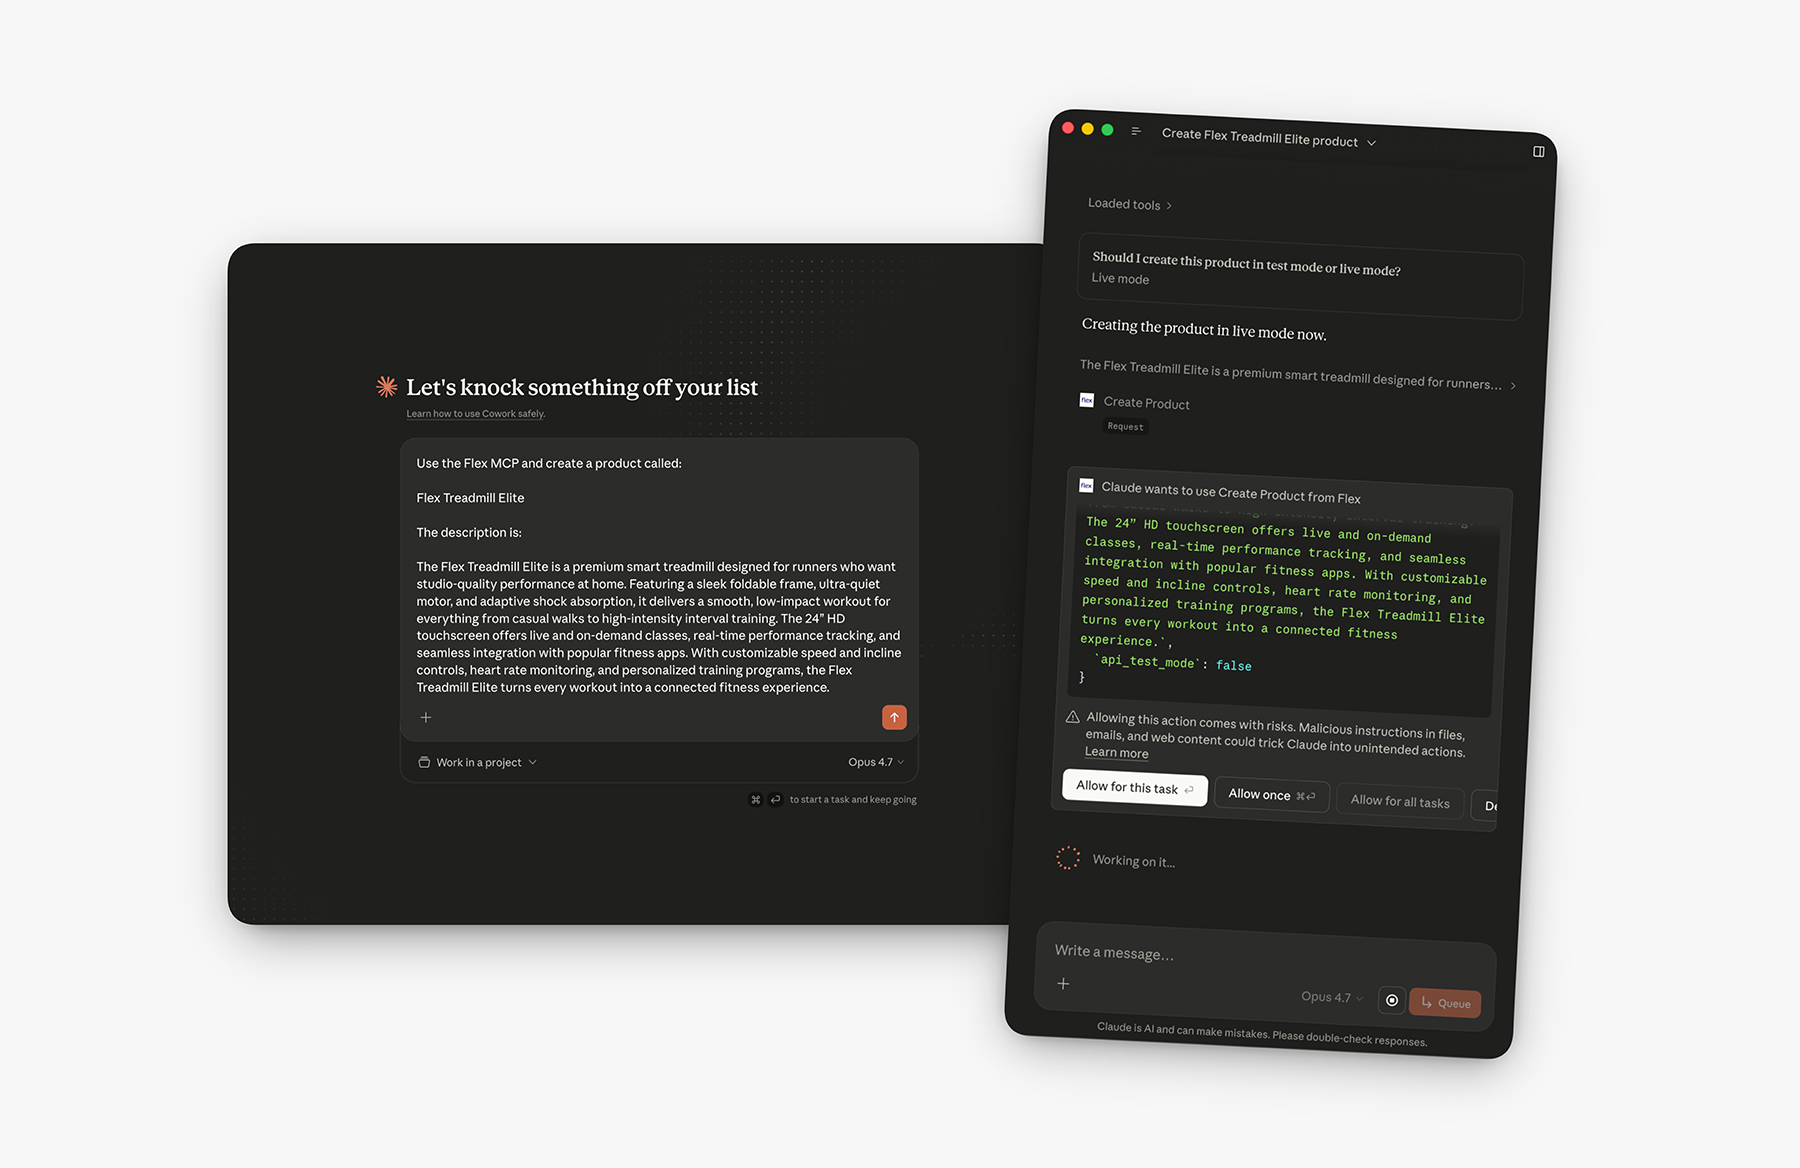 The Flex MCP server is hosted at `https://mcp.withflex.com`. Pick the client you use below — most paths take less than five minutes. The Claude.ai (web) flow is the most beginner-friendly; Claude Code is the best fit for developers; Cursor, Windsurf, and VS Code each have one-click install links from the [Flex MCP landing page](https://mcp.withflex.com).
## Claude.ai (per user)
Works on every paid Claude.ai plan (Pro, Max, Team, Enterprise) and only takes a sign-in.
Go to [claude.ai](https://claude.ai) → **Settings** → **Connectors**.
Click **Add custom connector**, then paste the Flex MCP URL:
```
https://mcp.withflex.com/api/mcp/oauth
```
Give it a name (e.g. "Flex") and click **Add**.
Claude will open a browser window to sign in. Use the email/password (or SSO) you use for the [Flex Dashboard](https://dashboard.withflex.com). Approve the access prompt.
Back in Claude, ask:
> Use the Flex MCP to list my five most recent payment intents.
Claude will request approval to call a Flex tool the first time. Allow it once or "for this task," and you're connected.
🧪 Heads up — Claude.ai is OAuth, so test vs. live mode is set **per call** via an `api_test_mode` parameter the LLM passes to each tool. By default, read tools return live data and write tools require you to specify the mode. See [Test mode](/developer-guides/integration/mcp/authentication#test-mode) for the full behavior.
## Claude.ai (workspace admin)
If you're on a **Team or Enterprise** plan, an admin can install the Flex connector once for the whole workspace instead of asking every member to add it individually.
Follow Anthropic's [Custom Connectors guide](https://support.claude.com/en/articles/11175166-get-started-with-custom-connectors-using-remote-mcp) to find the admin connector settings.
Paste `https://mcp.withflex.com/api/mcp/oauth` as the connector URL, set the name to "Flex", and save.
Each workspace member will be prompted to authenticate with their own Flex login the first time they use a Flex tool — there's no shared service account.
## Claude Code
For developers using [Claude Code](https://claude.com/claude-code) in the terminal.
Run:
```bash theme={null}
claude mcp add flex --transport http https://mcp.withflex.com/api/mcp/oauth
```
The first time you call a Flex tool, Claude Code will open a browser to sign in. Subsequent sessions reuse the token.
Create or copy an API key from the [API keys page](https://dashboard.withflex.com/apikeys) in your Flex Dashboard. Use an `fsk_test_…` key for experimentation.
```bash theme={null}
claude mcp add flex --transport http https://mcp.withflex.com/api/mcp \
--header "Authorization: Bearer fsk_YOUR_API_KEY"
```
🧪 Heads up — with the API key path, the key prefix encodes the mode: `fsk_test_…` always hits test data, `fsk_…` always hits live. There's no per-call test-mode flag. See [Authentication](/developer-guides/integration/mcp/authentication) for details.
Confirm the connection from any prompt:
```
List the MCP tools available from Flex.
```
## Other MCP clients
The Flex MCP works with any client that supports the Model Context Protocol. For Cursor, Windsurf, VS Code, and Claude Desktop, the easiest path is to visit [mcp.withflex.com](https://mcp.withflex.com) — pick your client and auth method, then click the one-click install link or copy the generated config.
If you're wiring up a client we don't list explicitly, here's what you need:
| Field | Value |
| :----------------- | :--------------------------------------- |
| **Transport** | HTTP (streamable) |
| **OAuth URL** | `https://mcp.withflex.com/api/mcp/oauth` |
| **API key URL** | `https://mcp.withflex.com/api/mcp` |
| **API key header** | `Authorization: Bearer fsk_…` |
A minimal JSON config (the shape most clients accept) looks like:
```json theme={null}
{
"mcpServers": {
"flex": {
"type": "http",
"url": "https://mcp.withflex.com/api/mcp/oauth"
}
}
}
```
For the API key path, add a `headers` object with the `Authorization` bearer.
**Tested clients:** Claude.ai · Claude Desktop · Claude Code · Cursor · Windsurf · VS Code (GitHub Copilot MCP). For each of these the [Flex MCP landing page](https://mcp.withflex.com) generates the exact config snippet.
## Next steps
Copy-paste prompts for support, reconciliation, refunds, and reporting.
How OAuth and API keys compare, and how to stay in test mode safely.
Scope your API keys and rotate credentials before going live.
The Flex MCP server is hosted at `https://mcp.withflex.com`. Pick the client you use below — most paths take less than five minutes. The Claude.ai (web) flow is the most beginner-friendly; Claude Code is the best fit for developers; Cursor, Windsurf, and VS Code each have one-click install links from the [Flex MCP landing page](https://mcp.withflex.com).
## Claude.ai (per user)
Works on every paid Claude.ai plan (Pro, Max, Team, Enterprise) and only takes a sign-in.
Go to [claude.ai](https://claude.ai) → **Settings** → **Connectors**.
Click **Add custom connector**, then paste the Flex MCP URL:
```
https://mcp.withflex.com/api/mcp/oauth
```
Give it a name (e.g. "Flex") and click **Add**.
Claude will open a browser window to sign in. Use the email/password (or SSO) you use for the [Flex Dashboard](https://dashboard.withflex.com). Approve the access prompt.
Back in Claude, ask:
> Use the Flex MCP to list my five most recent payment intents.
Claude will request approval to call a Flex tool the first time. Allow it once or "for this task," and you're connected.
🧪 Heads up — Claude.ai is OAuth, so test vs. live mode is set **per call** via an `api_test_mode` parameter the LLM passes to each tool. By default, read tools return live data and write tools require you to specify the mode. See [Test mode](/developer-guides/integration/mcp/authentication#test-mode) for the full behavior.
## Claude.ai (workspace admin)
If you're on a **Team or Enterprise** plan, an admin can install the Flex connector once for the whole workspace instead of asking every member to add it individually.
Follow Anthropic's [Custom Connectors guide](https://support.claude.com/en/articles/11175166-get-started-with-custom-connectors-using-remote-mcp) to find the admin connector settings.
Paste `https://mcp.withflex.com/api/mcp/oauth` as the connector URL, set the name to "Flex", and save.
Each workspace member will be prompted to authenticate with their own Flex login the first time they use a Flex tool — there's no shared service account.
## Claude Code
For developers using [Claude Code](https://claude.com/claude-code) in the terminal.
Run:
```bash theme={null}
claude mcp add flex --transport http https://mcp.withflex.com/api/mcp/oauth
```
The first time you call a Flex tool, Claude Code will open a browser to sign in. Subsequent sessions reuse the token.
Create or copy an API key from the [API keys page](https://dashboard.withflex.com/apikeys) in your Flex Dashboard. Use an `fsk_test_…` key for experimentation.
```bash theme={null}
claude mcp add flex --transport http https://mcp.withflex.com/api/mcp \
--header "Authorization: Bearer fsk_YOUR_API_KEY"
```
🧪 Heads up — with the API key path, the key prefix encodes the mode: `fsk_test_…` always hits test data, `fsk_…` always hits live. There's no per-call test-mode flag. See [Authentication](/developer-guides/integration/mcp/authentication) for details.
Confirm the connection from any prompt:
```
List the MCP tools available from Flex.
```
## Other MCP clients
The Flex MCP works with any client that supports the Model Context Protocol. For Cursor, Windsurf, VS Code, and Claude Desktop, the easiest path is to visit [mcp.withflex.com](https://mcp.withflex.com) — pick your client and auth method, then click the one-click install link or copy the generated config.
If you're wiring up a client we don't list explicitly, here's what you need:
| Field | Value |
| :----------------- | :--------------------------------------- |
| **Transport** | HTTP (streamable) |
| **OAuth URL** | `https://mcp.withflex.com/api/mcp/oauth` |
| **API key URL** | `https://mcp.withflex.com/api/mcp` |
| **API key header** | `Authorization: Bearer fsk_…` |
A minimal JSON config (the shape most clients accept) looks like:
```json theme={null}
{
"mcpServers": {
"flex": {
"type": "http",
"url": "https://mcp.withflex.com/api/mcp/oauth"
}
}
}
```
For the API key path, add a `headers` object with the `Authorization` bearer.
**Tested clients:** Claude.ai · Claude Desktop · Claude Code · Cursor · Windsurf · VS Code (GitHub Copilot MCP). For each of these the [Flex MCP landing page](https://mcp.withflex.com) generates the exact config snippet.
## Next steps
Copy-paste prompts for support, reconciliation, refunds, and reporting.
How OAuth and API keys compare, and how to stay in test mode safely.
Scope your API keys and rotate credentials before going live.