Installation guide
Create an account with Flex
Navigate to the registration page to create an account. If you already have an account, you can log in here.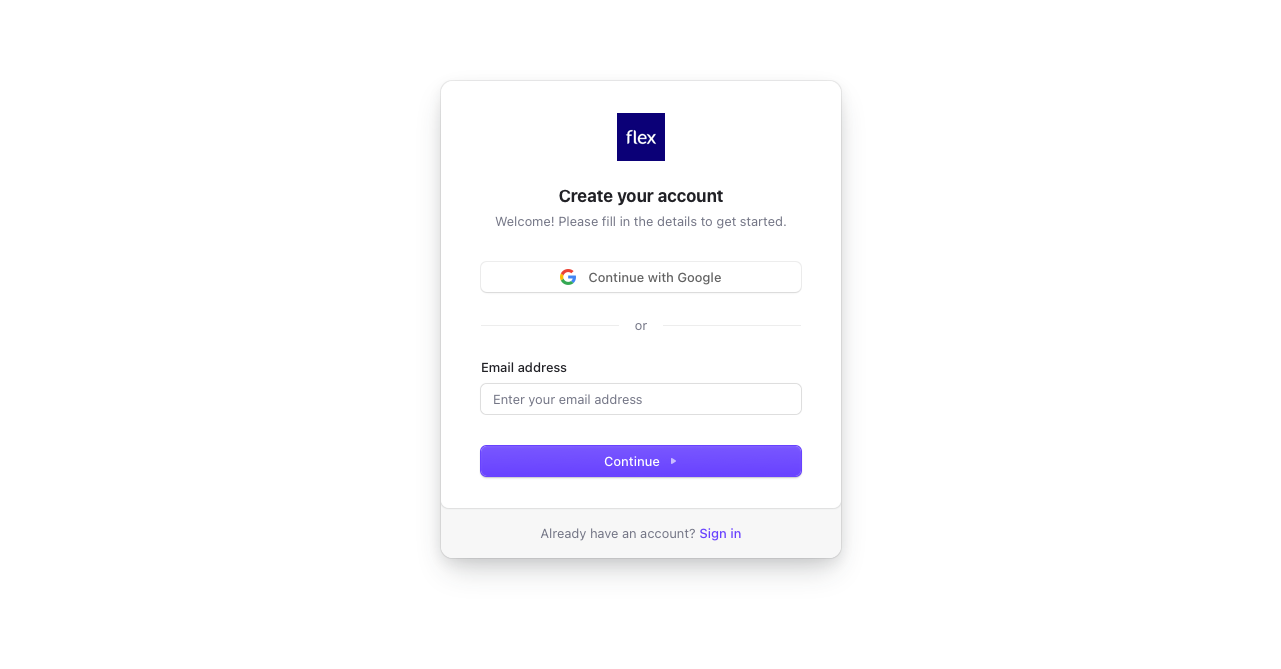
Install Flex Shopify Payments App
Navigate to the Flex Shopify Payments App Listing Page and select Install. After selecting install, you will be prompted to the configuration page.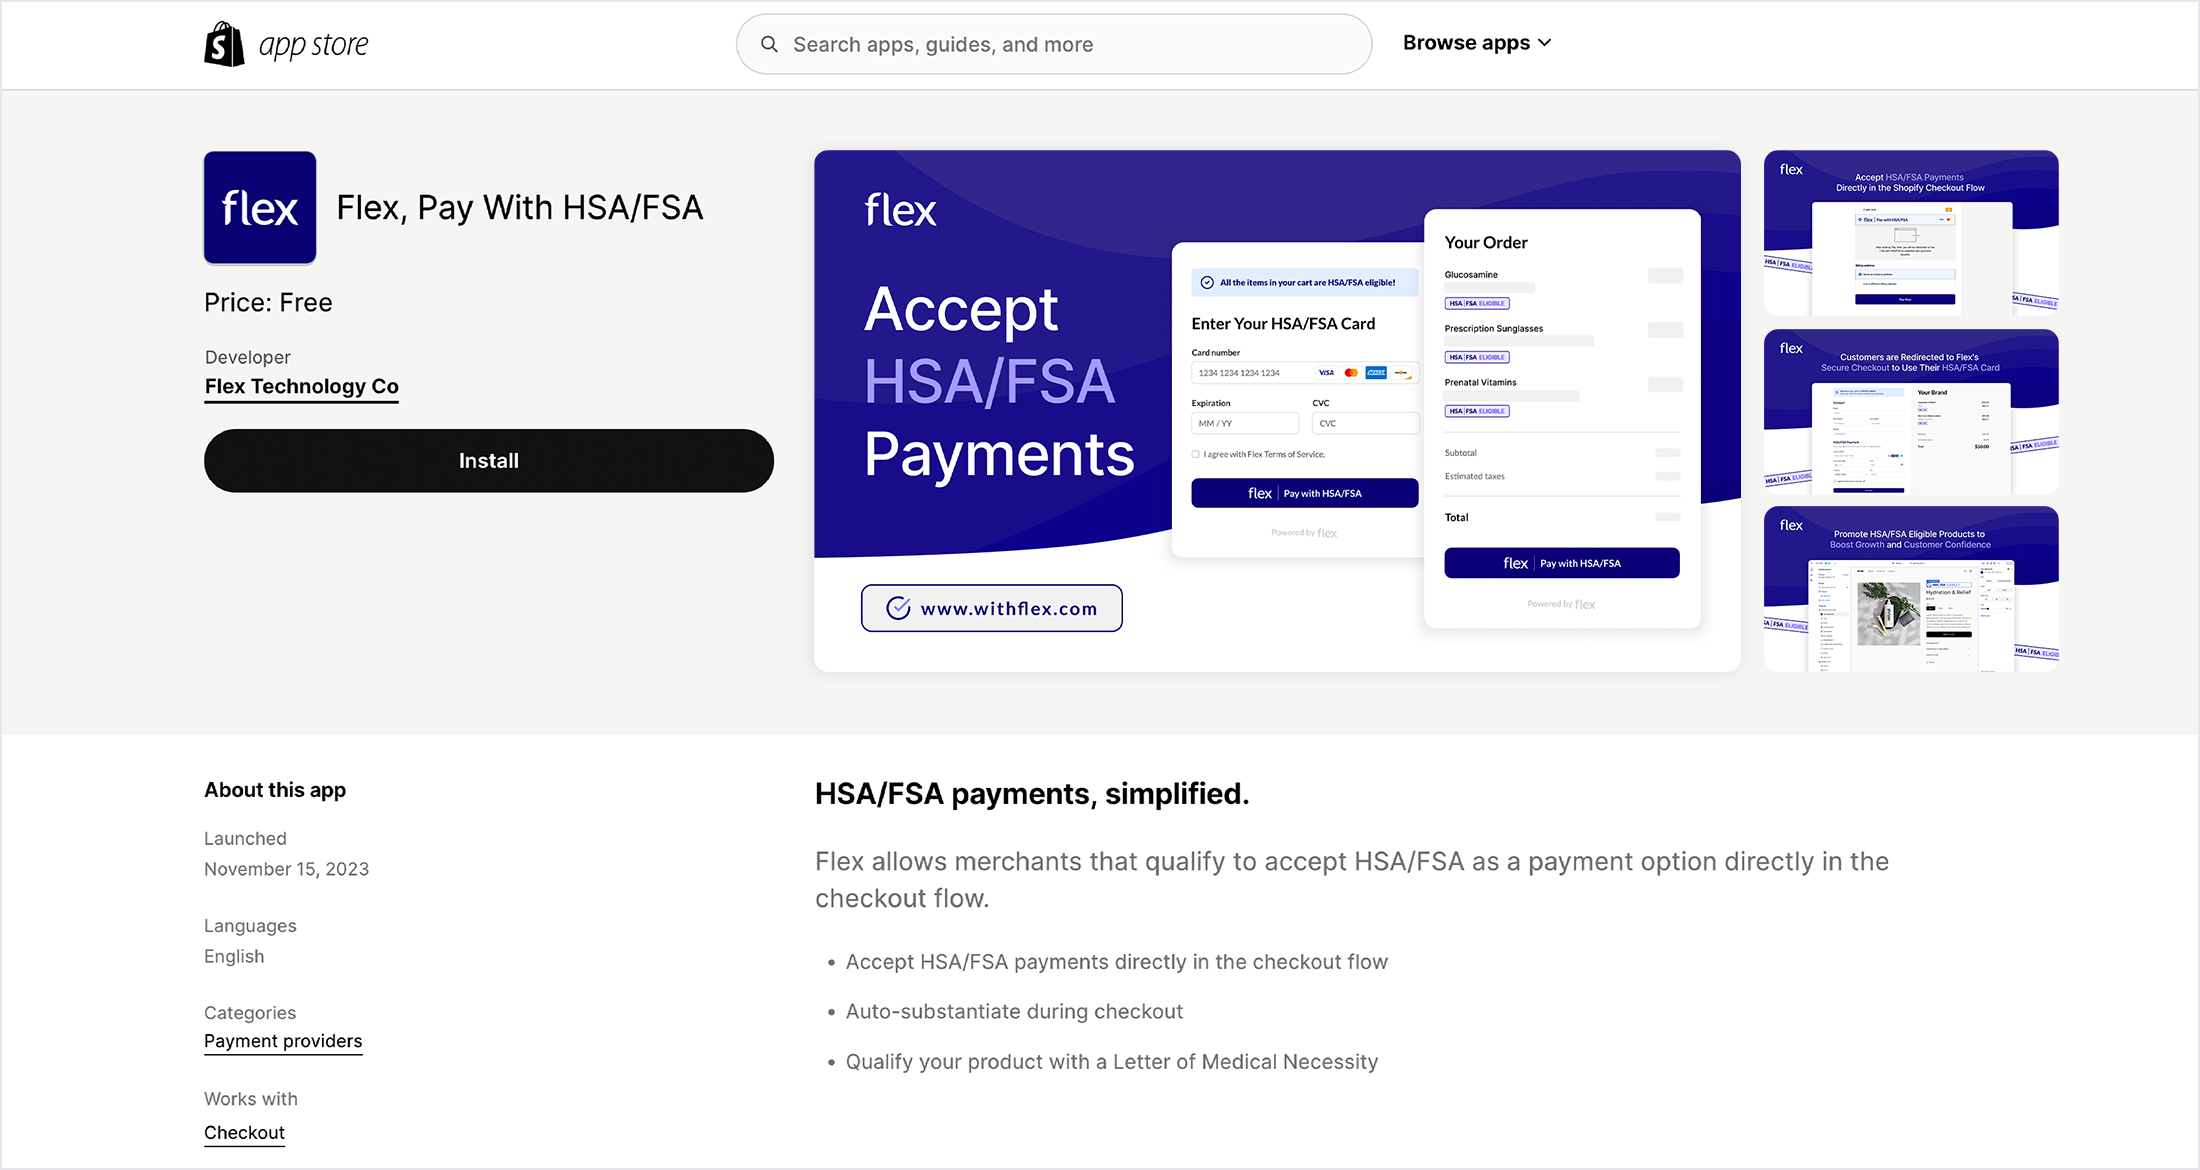
Install pixel
The pixel is used to retrieve cart information throughout the customer’s checkout journey. With this cart information, Flex is able to determine which products are HSA/FSA eligible and which are not.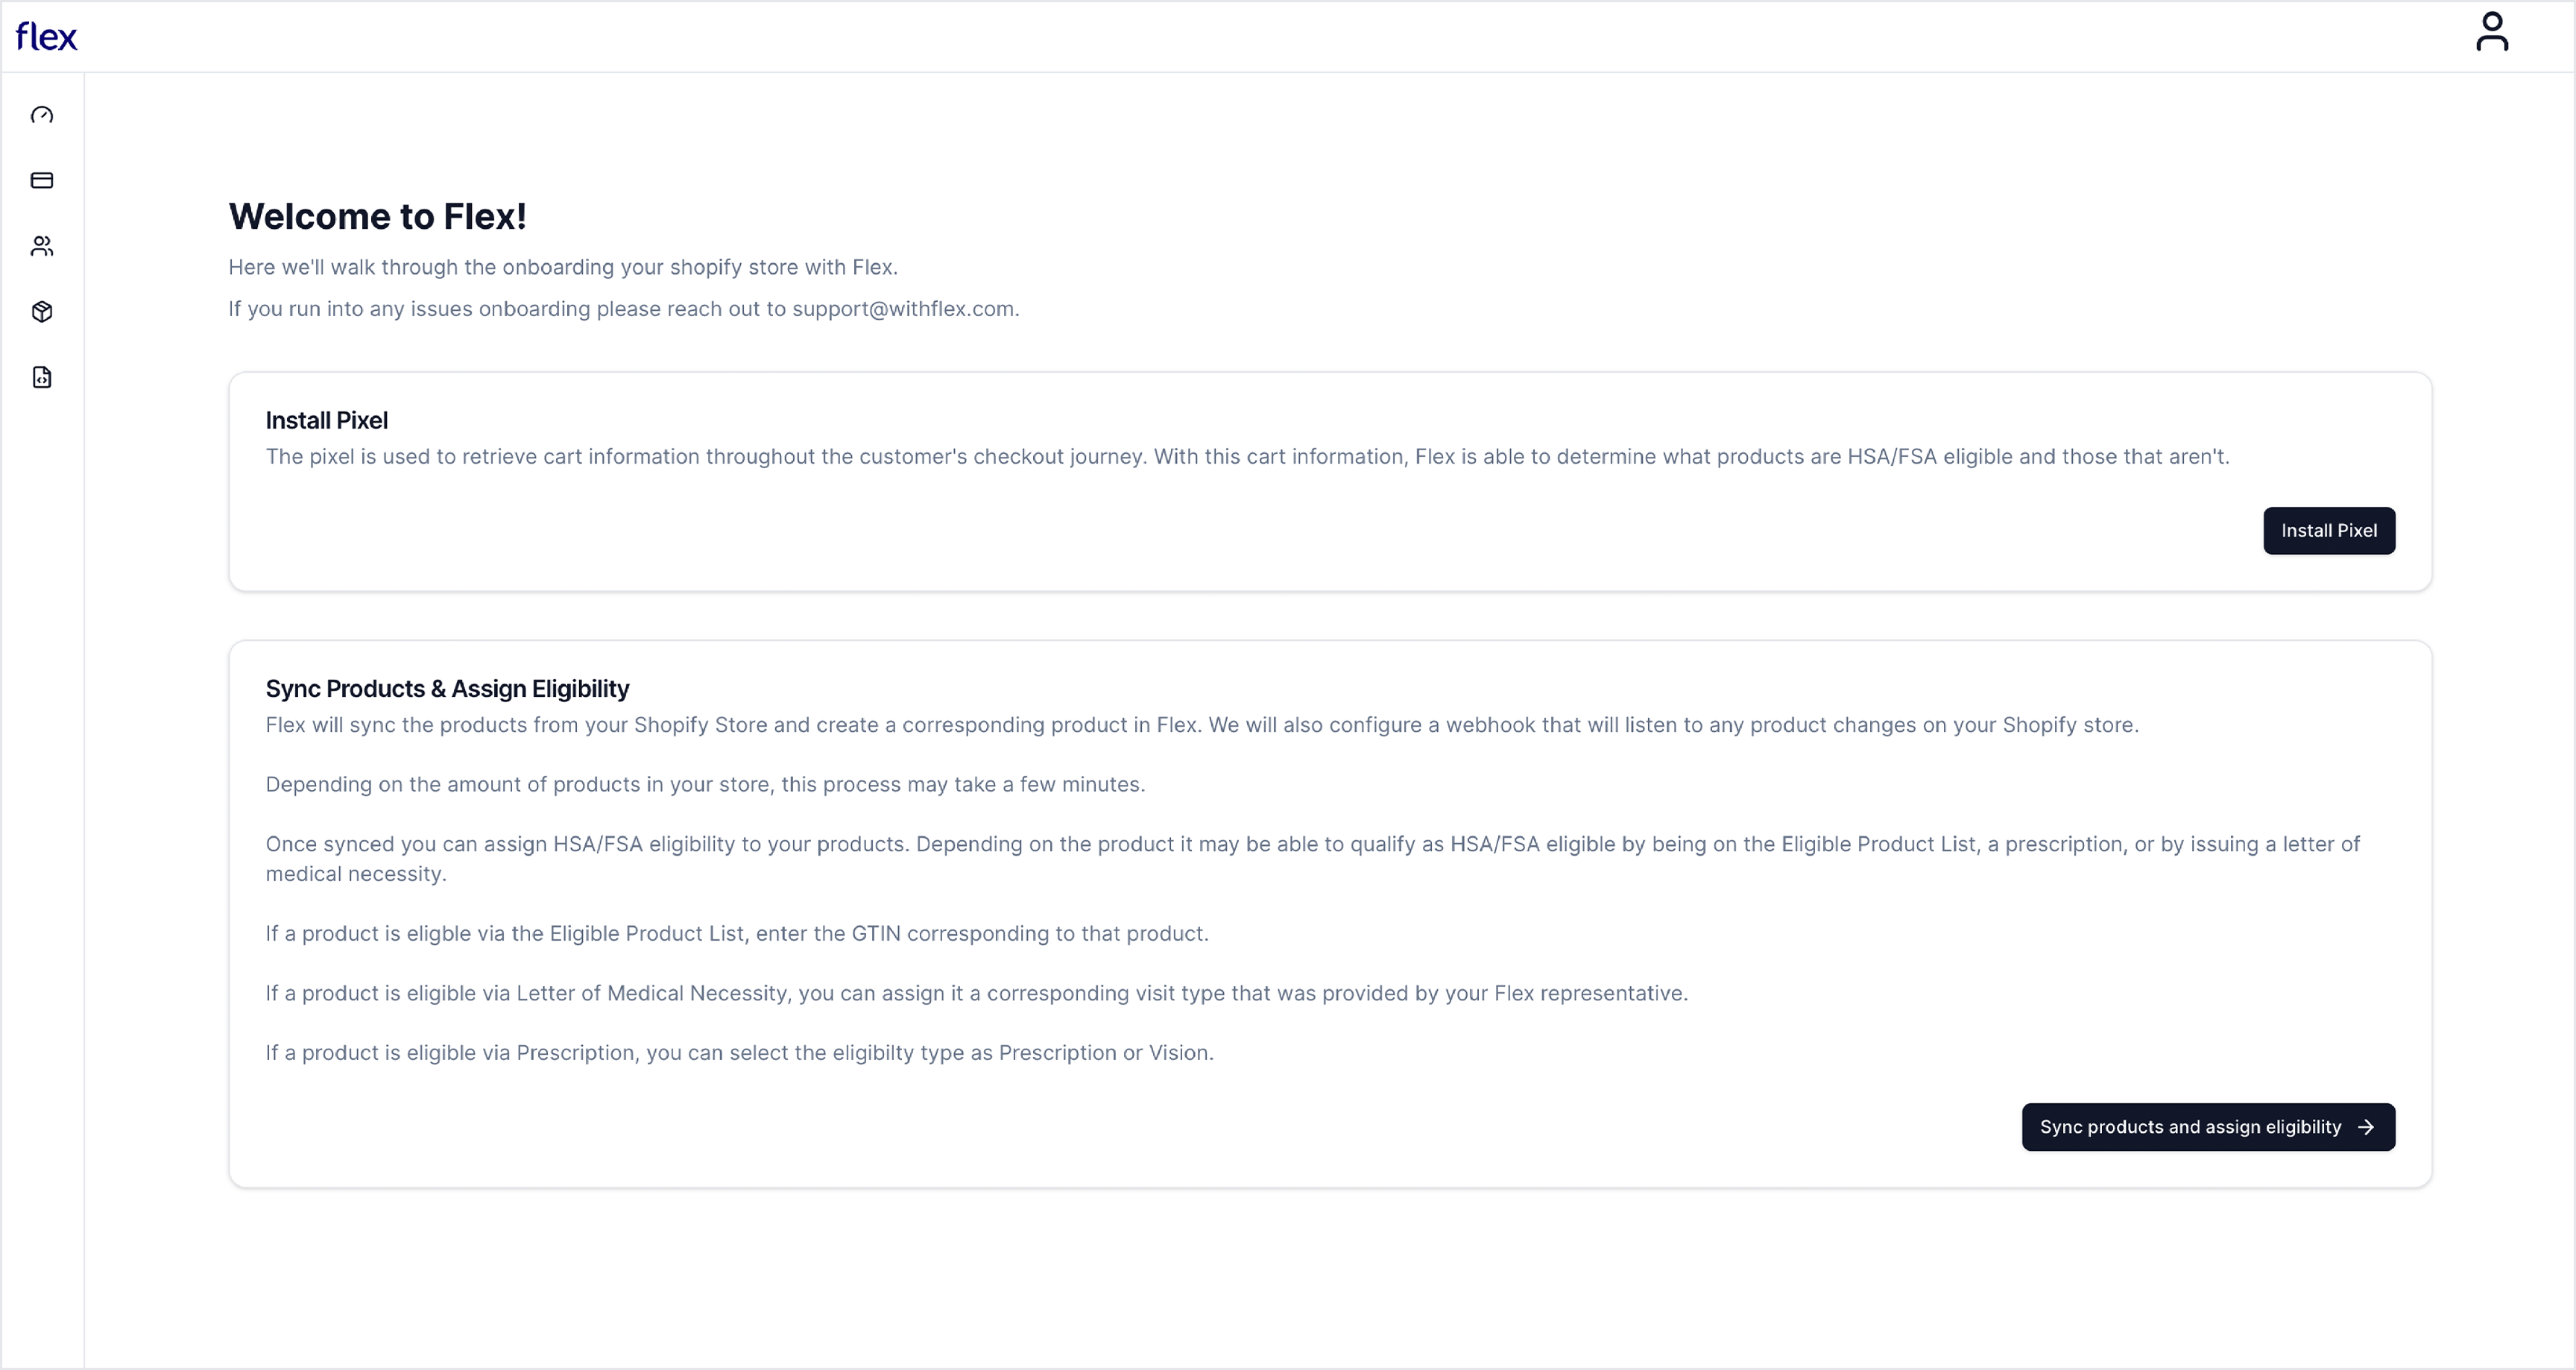
Sync products & assign eligibility
Flex will sync the products from your Shopify Store and create a corresponding product in Flex. We will also configure a webhook that will listen for any product changes on your Shopify store.Depending on the number of products in your store, this process may take a few minutes.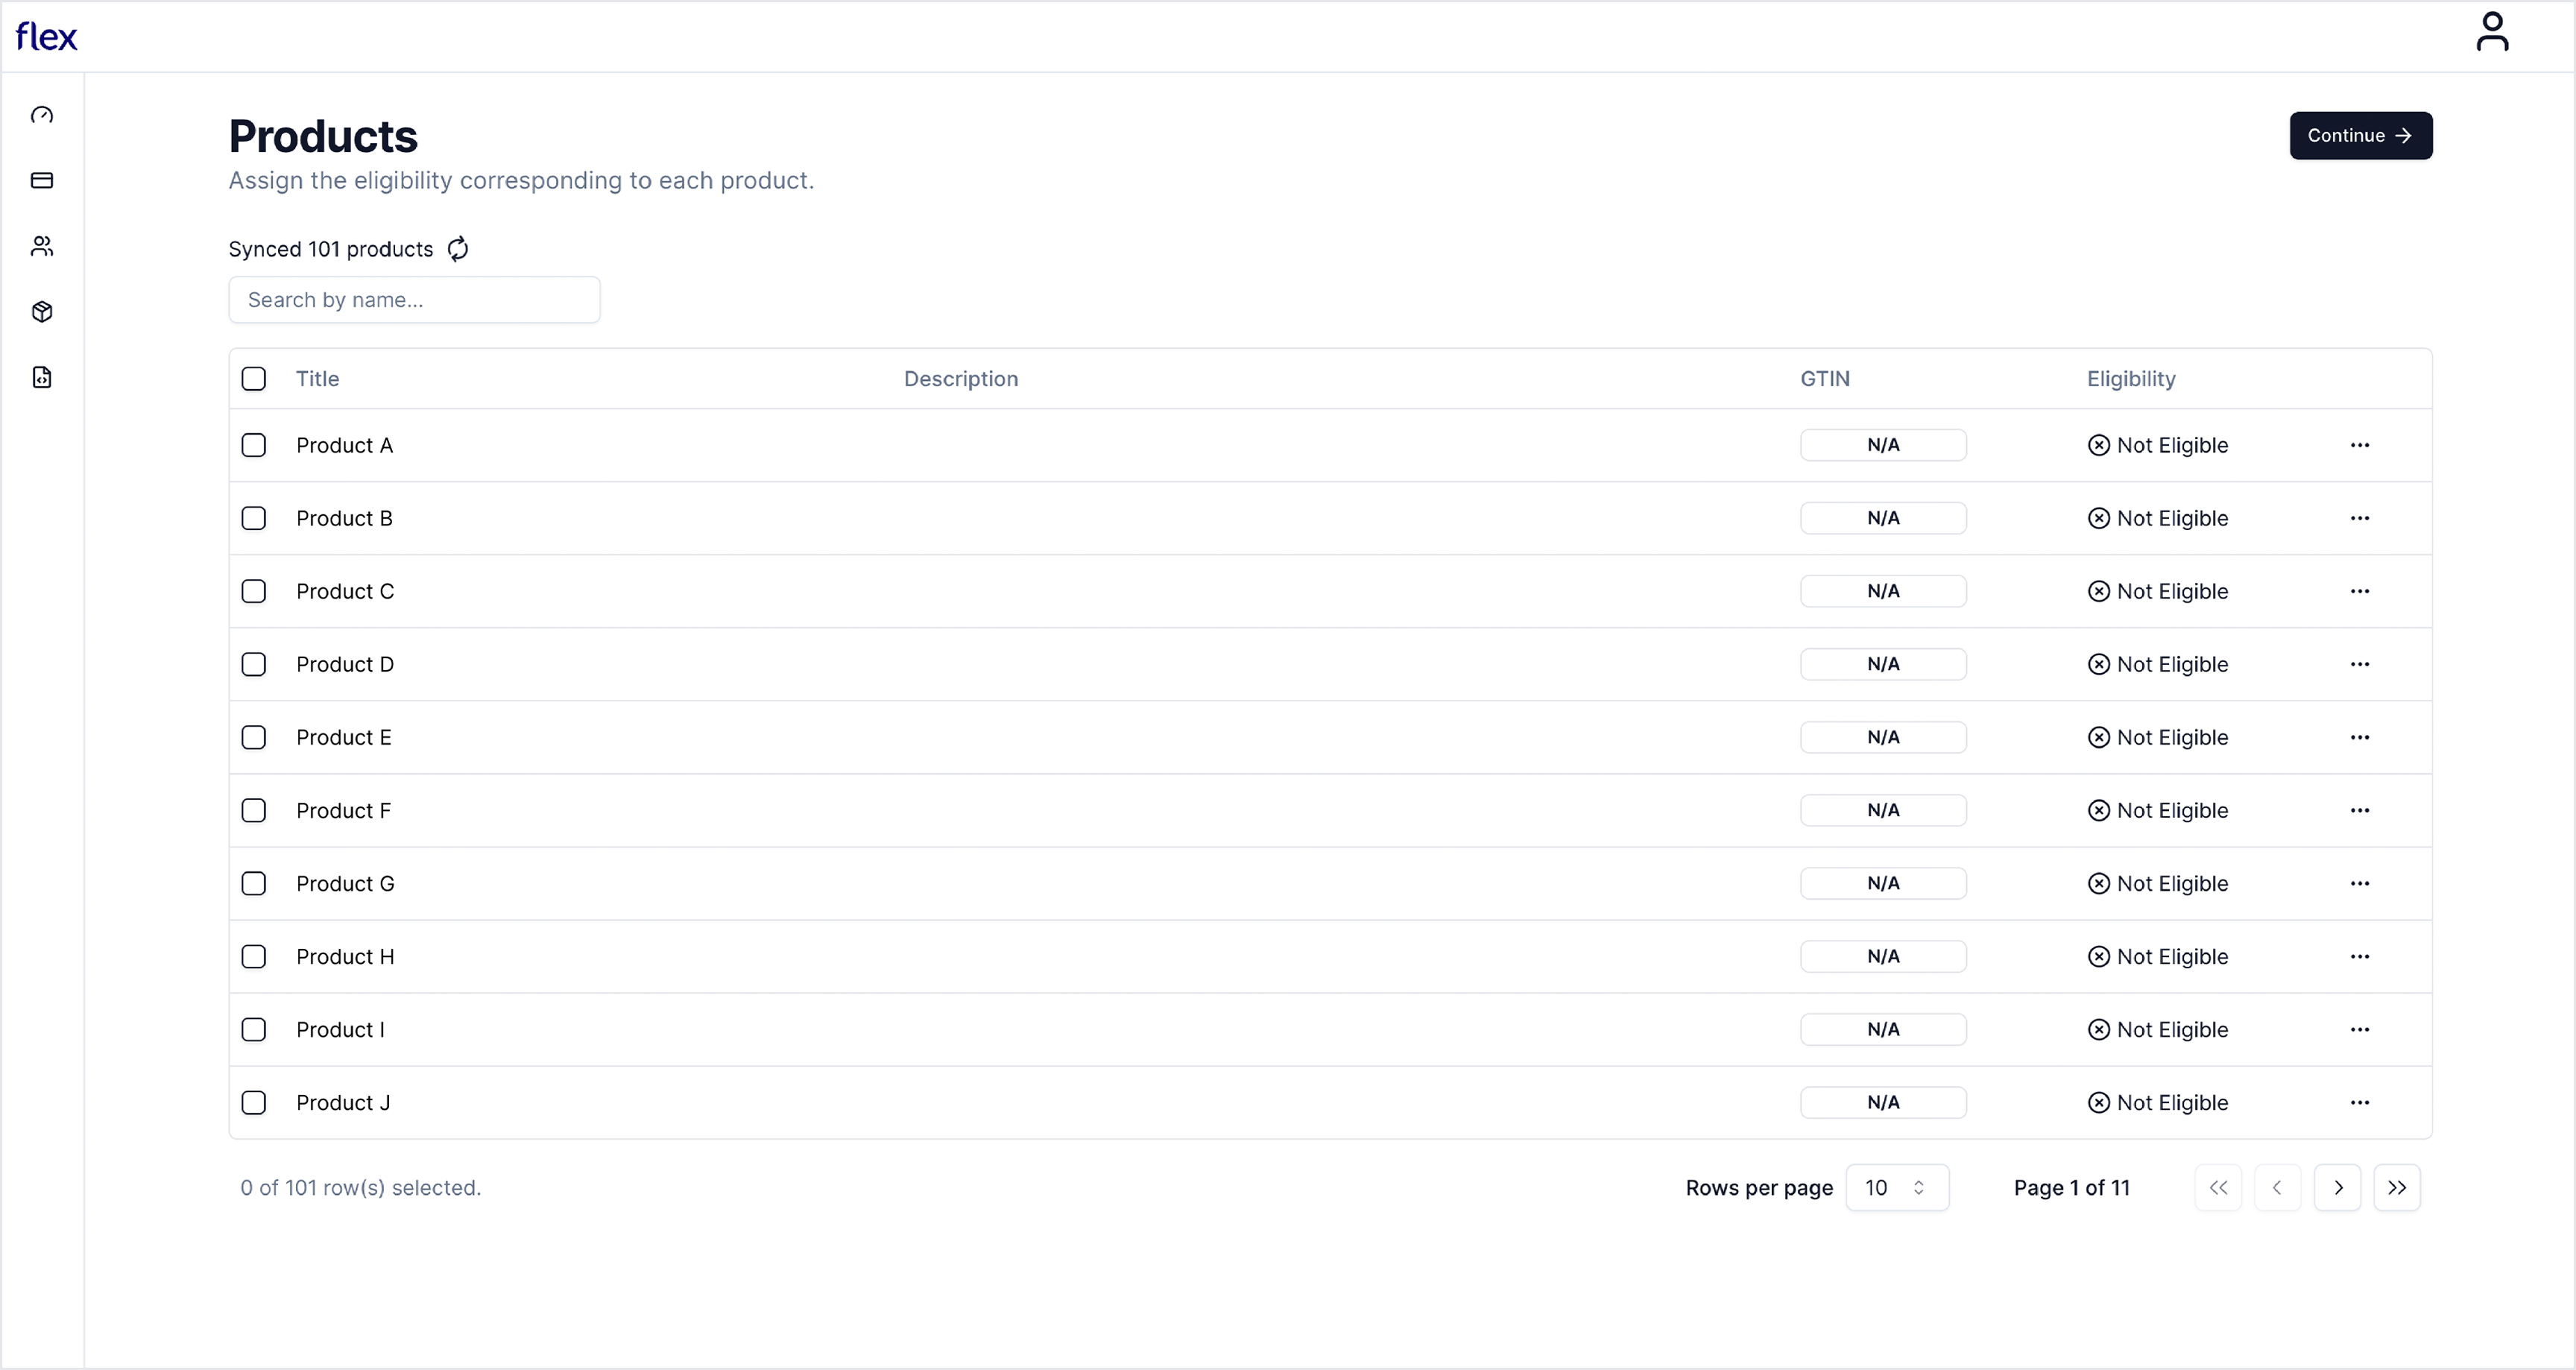
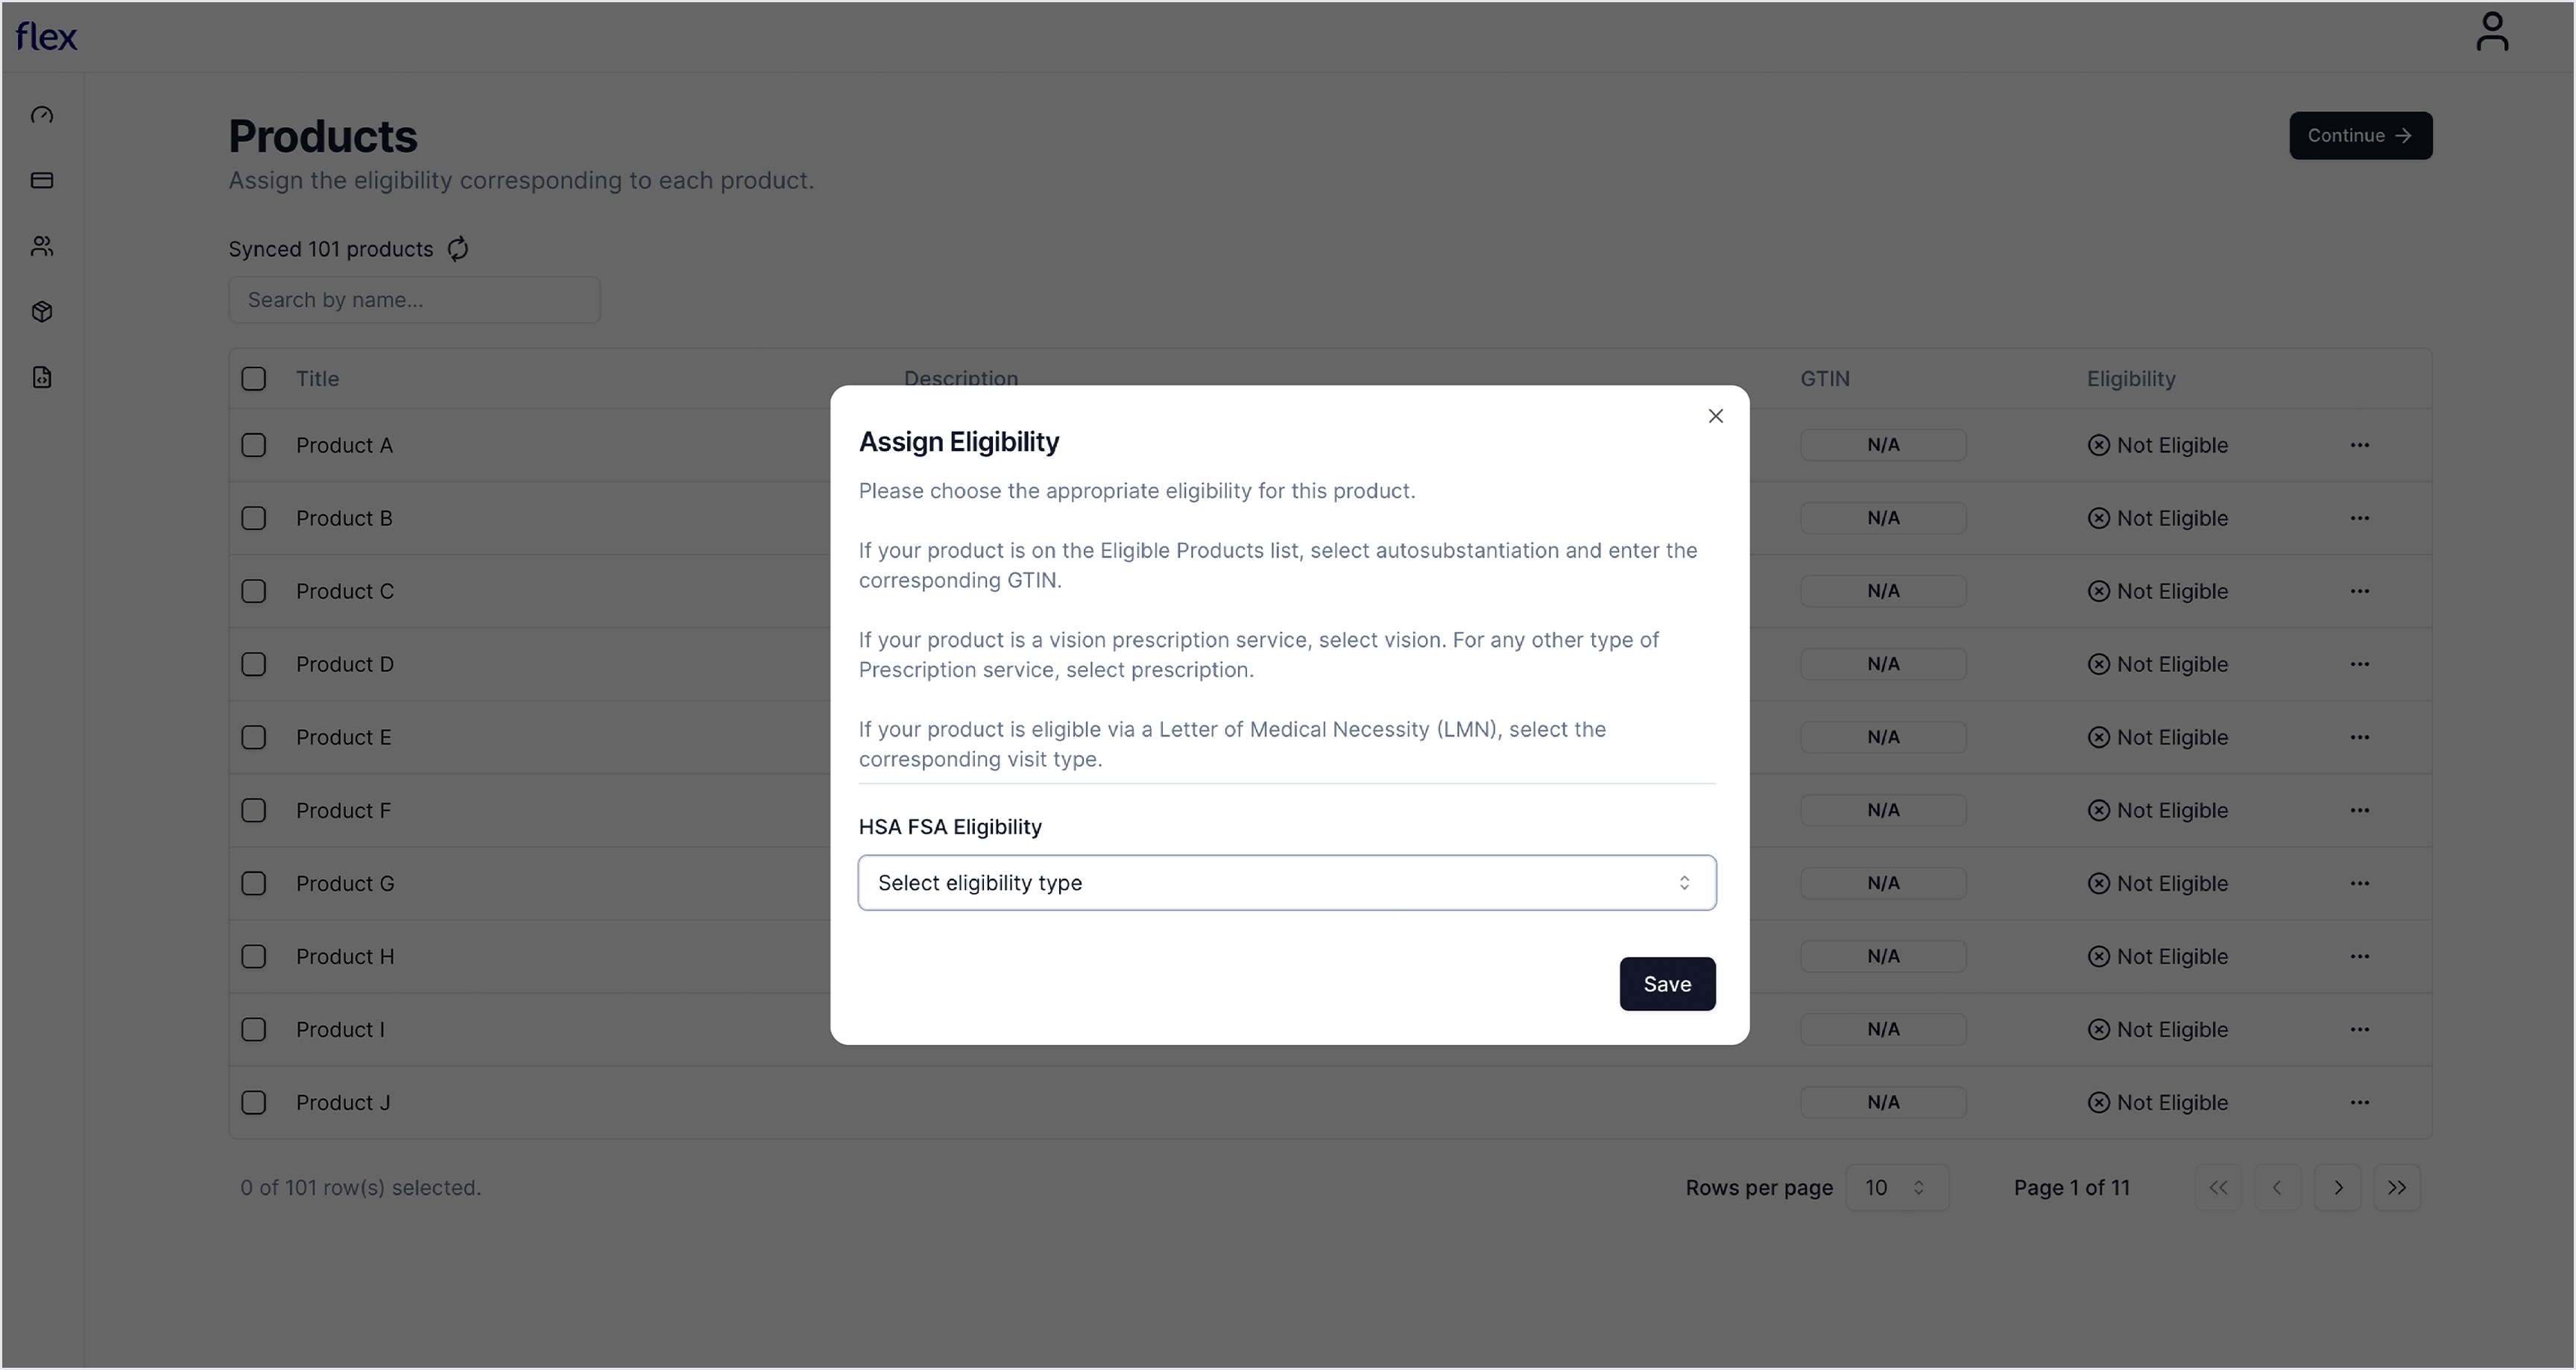
- If a product is eligible via the Eligible Product List, enter the GTIN corresponding to that product.
- If a product is eligible via Letter of Medical Necessity, you can assign it a corresponding visit type that was provided by your Flex representative.
-
If a product is eligible via Prescription, you can select the eligibility type as Prescription or Vision.
Confirm Flex checkout functionality
Navigate to Settings and select Customer Events to verify the Flex Pixel status is ‘Connected’.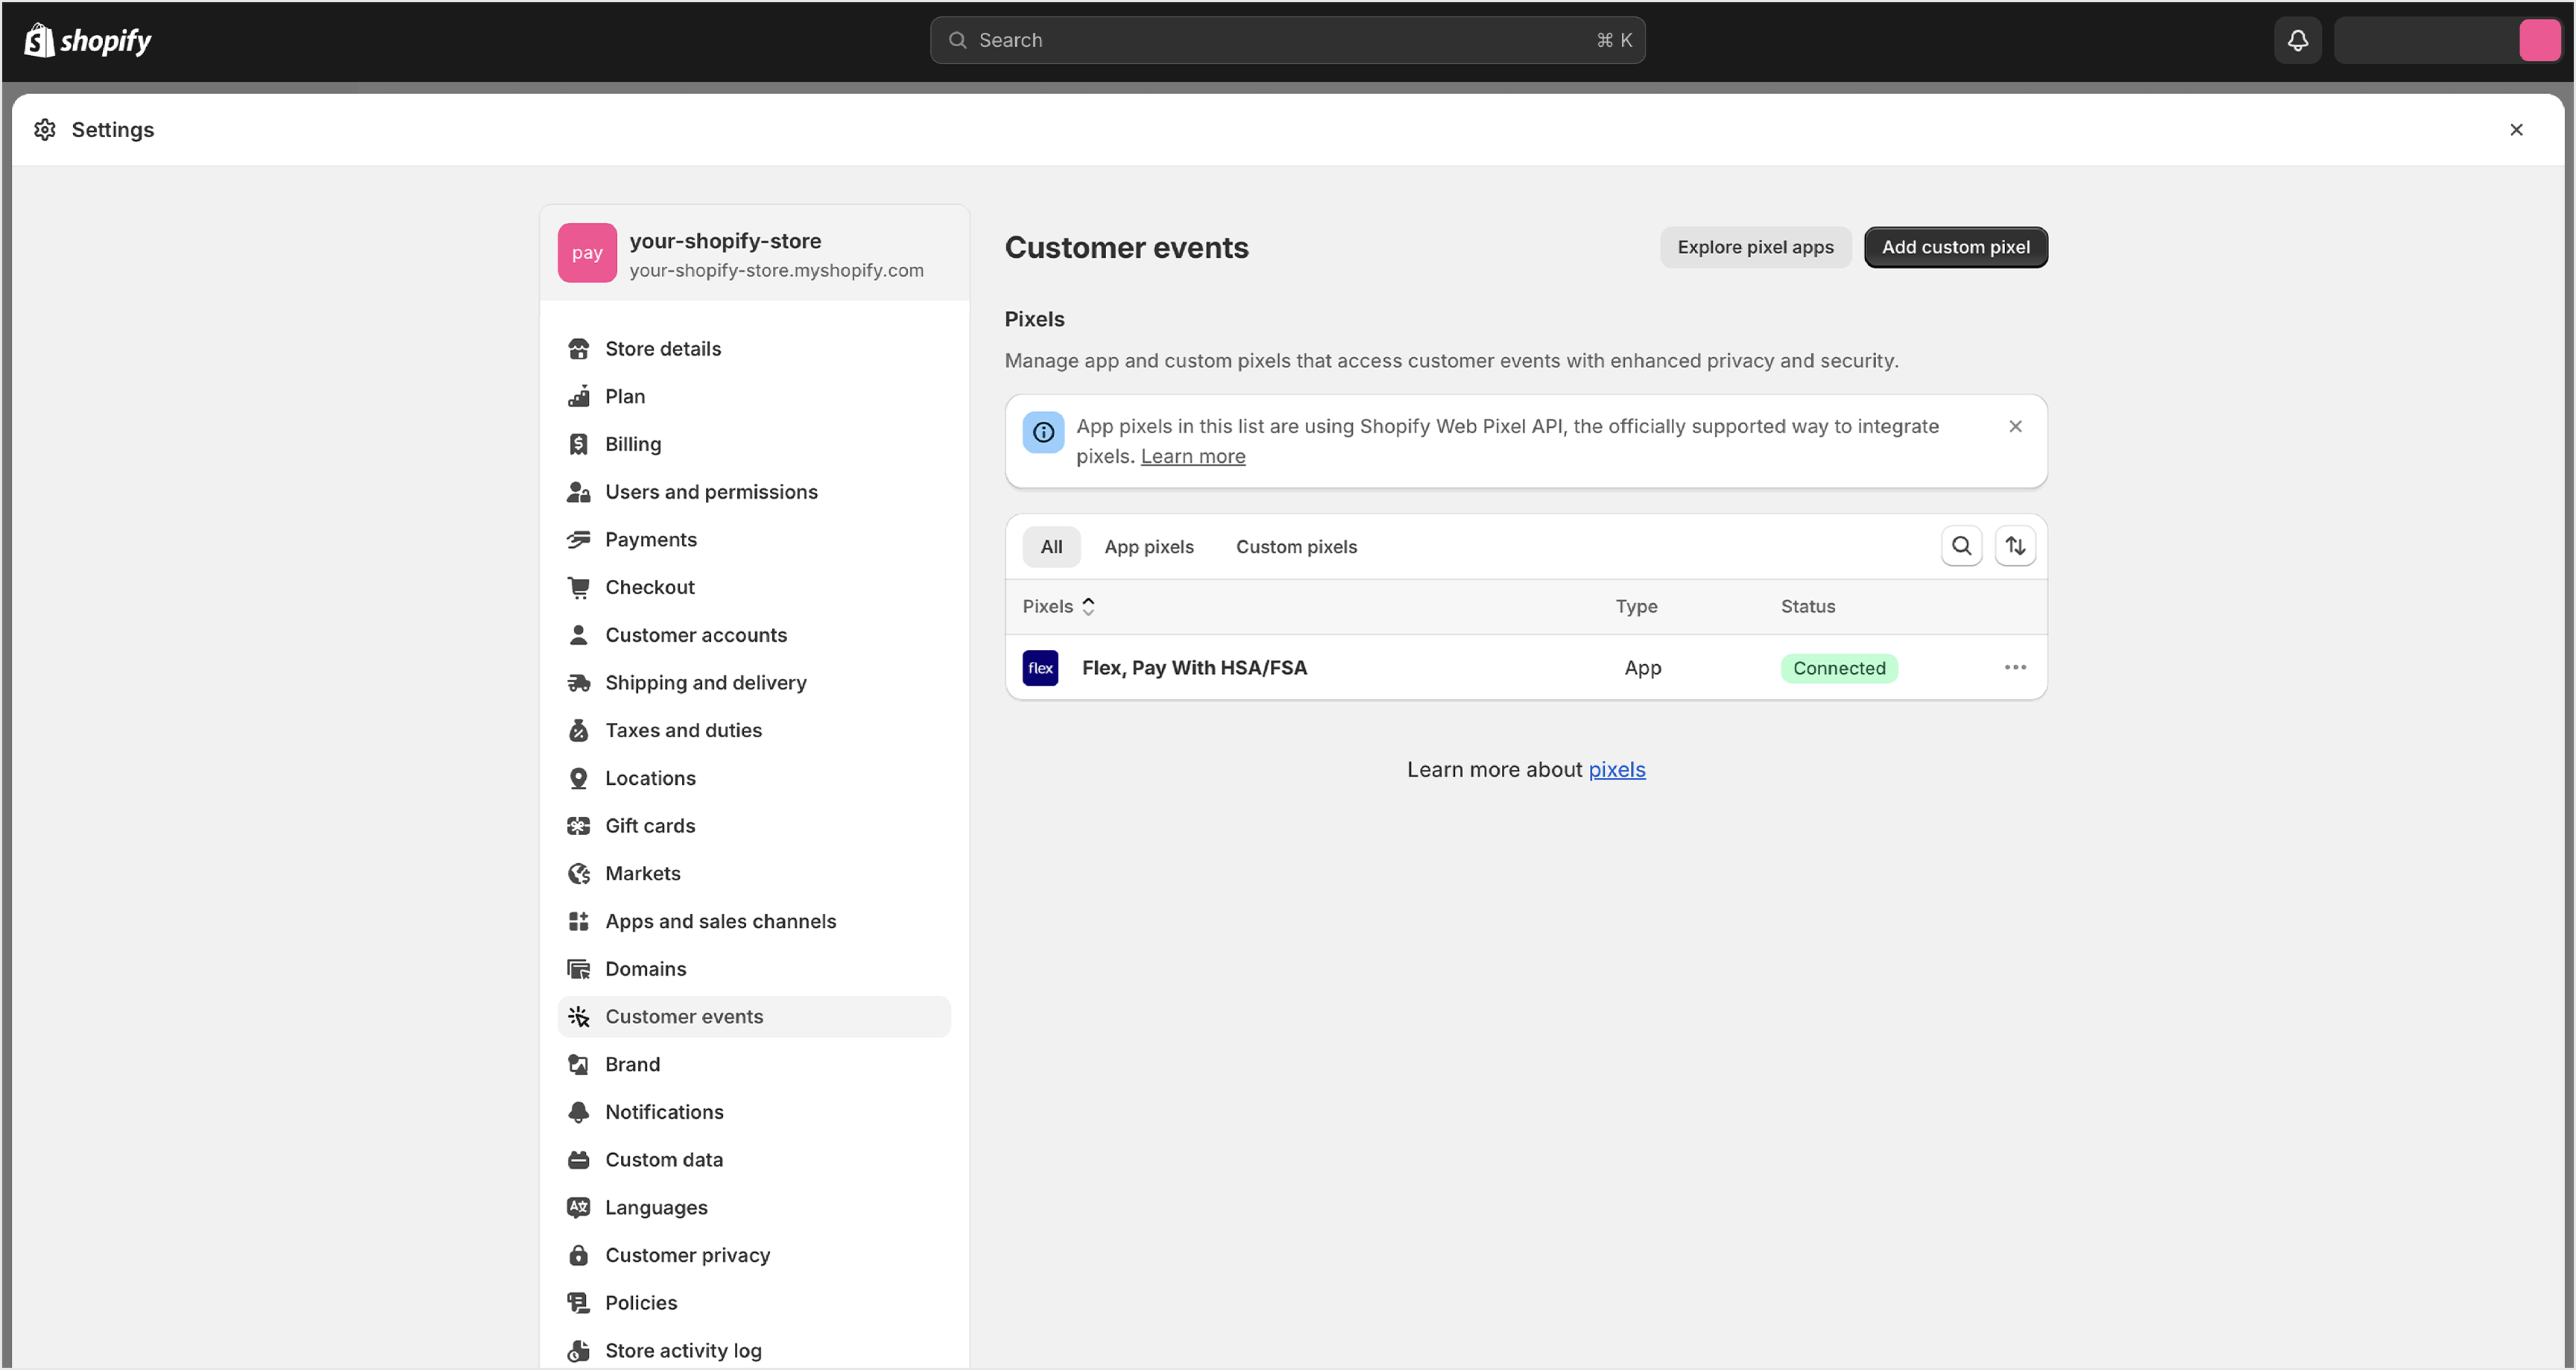
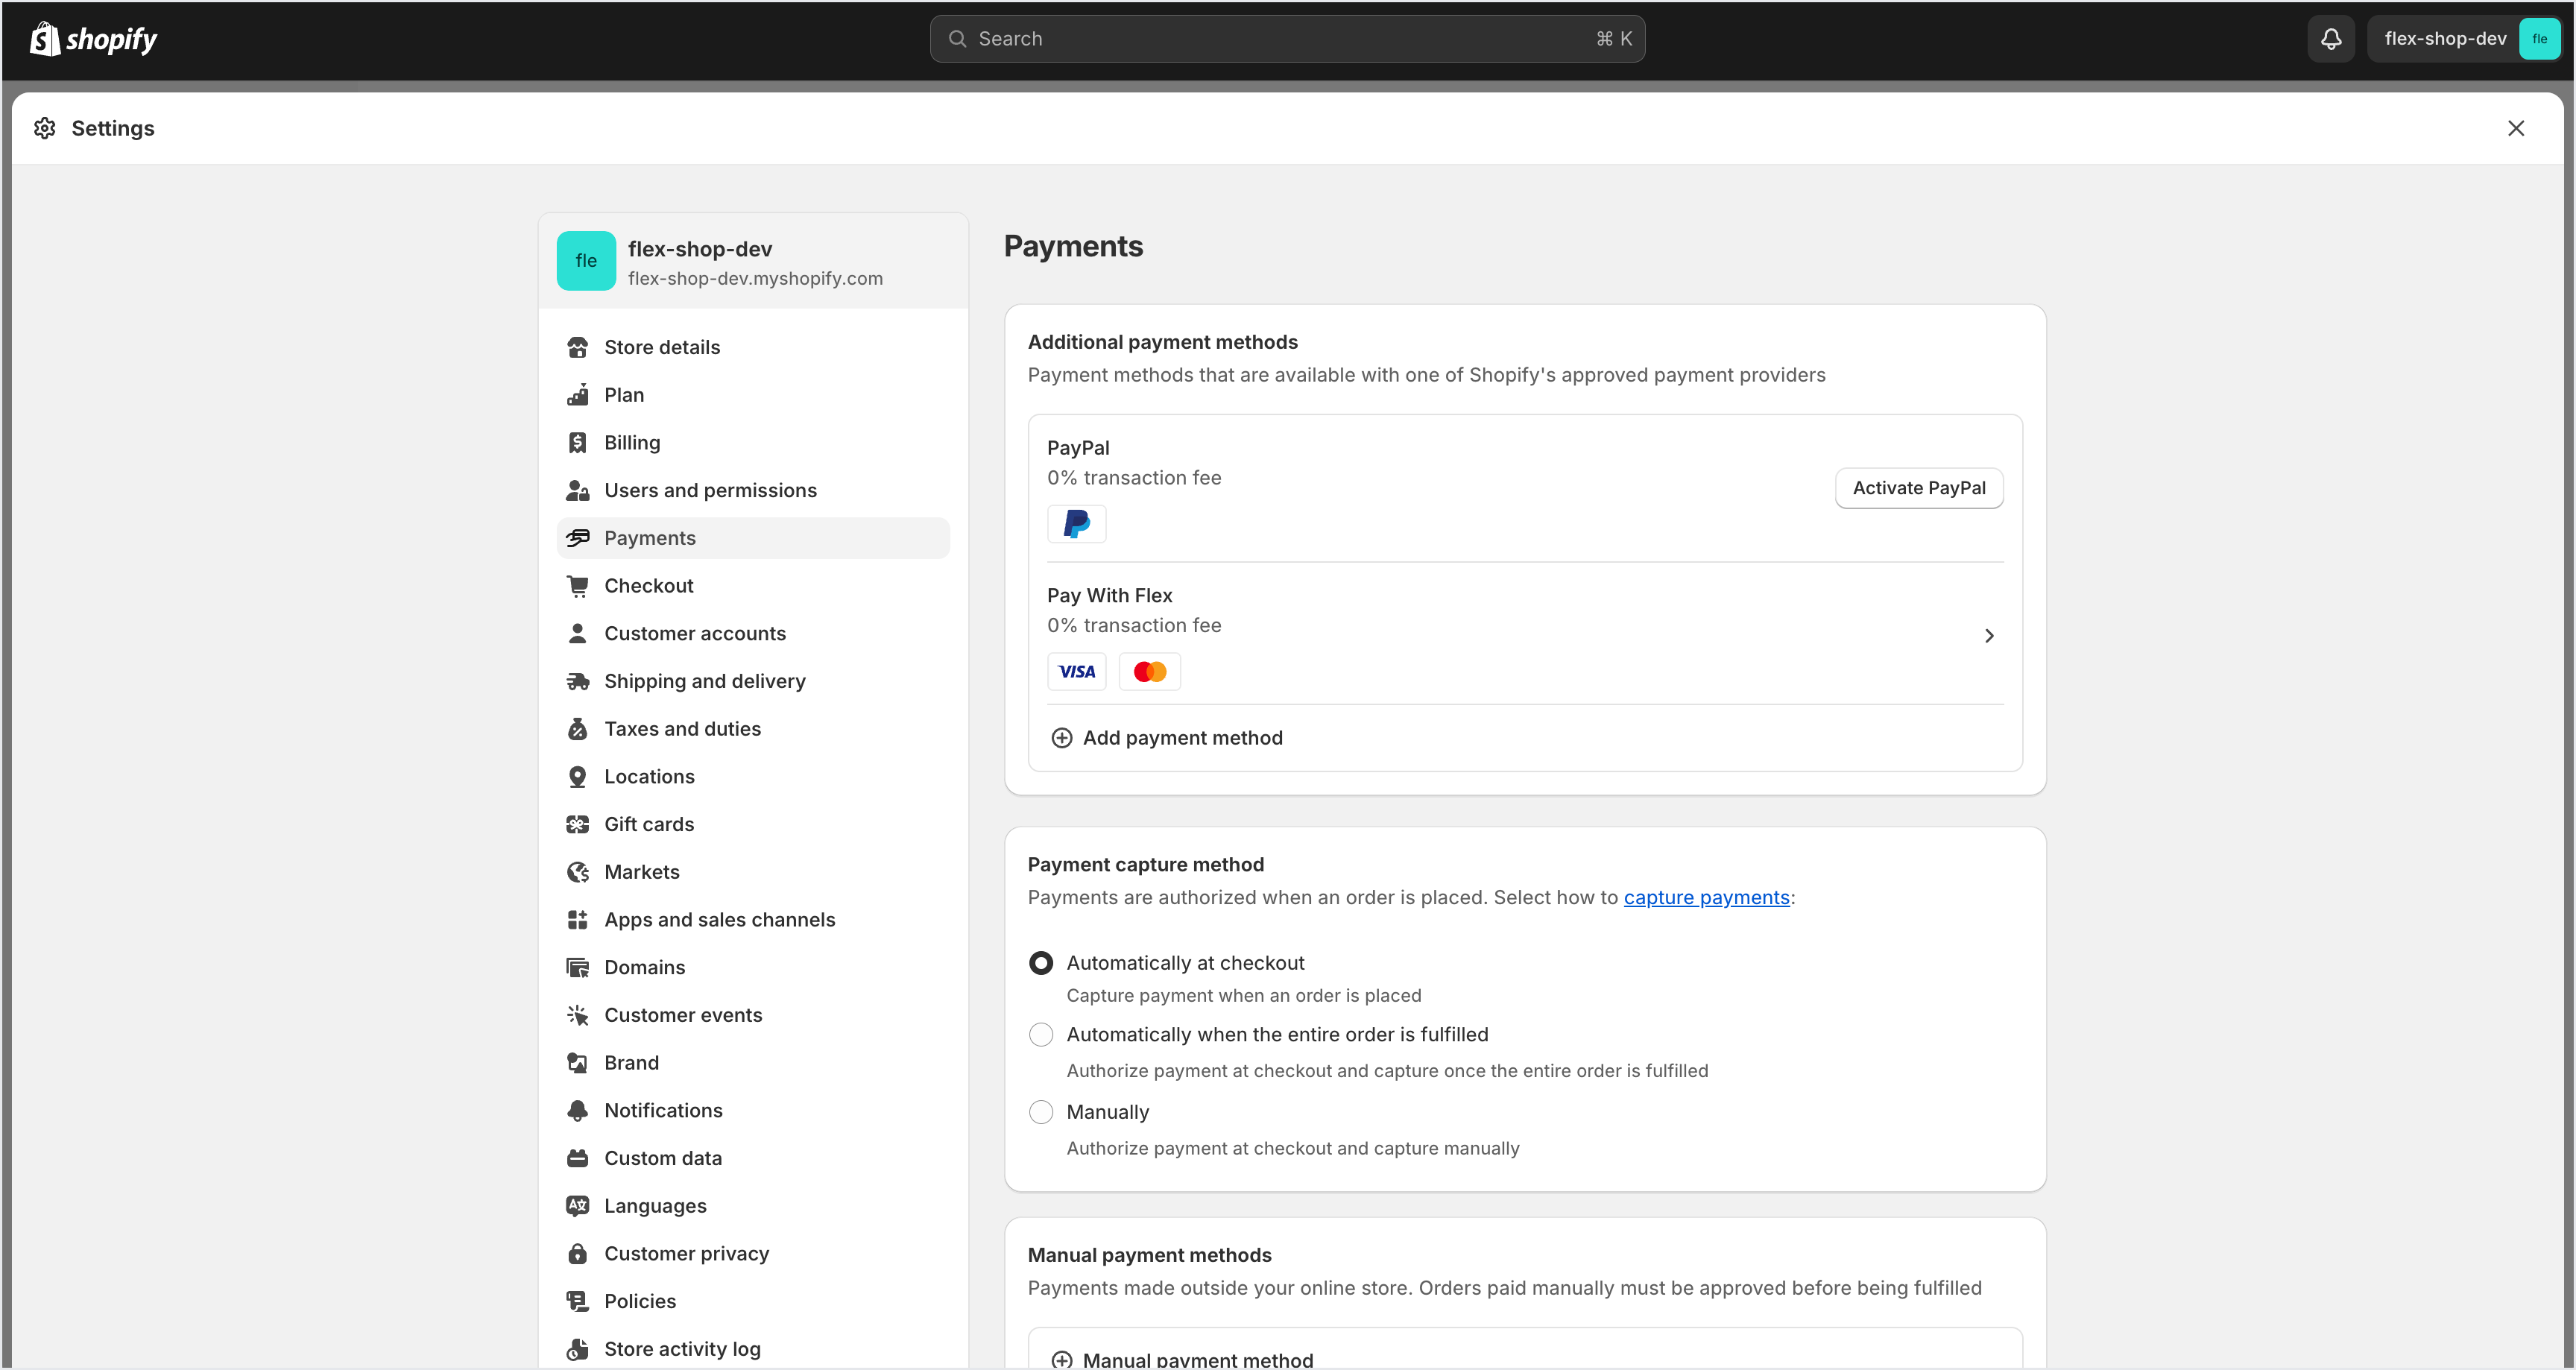
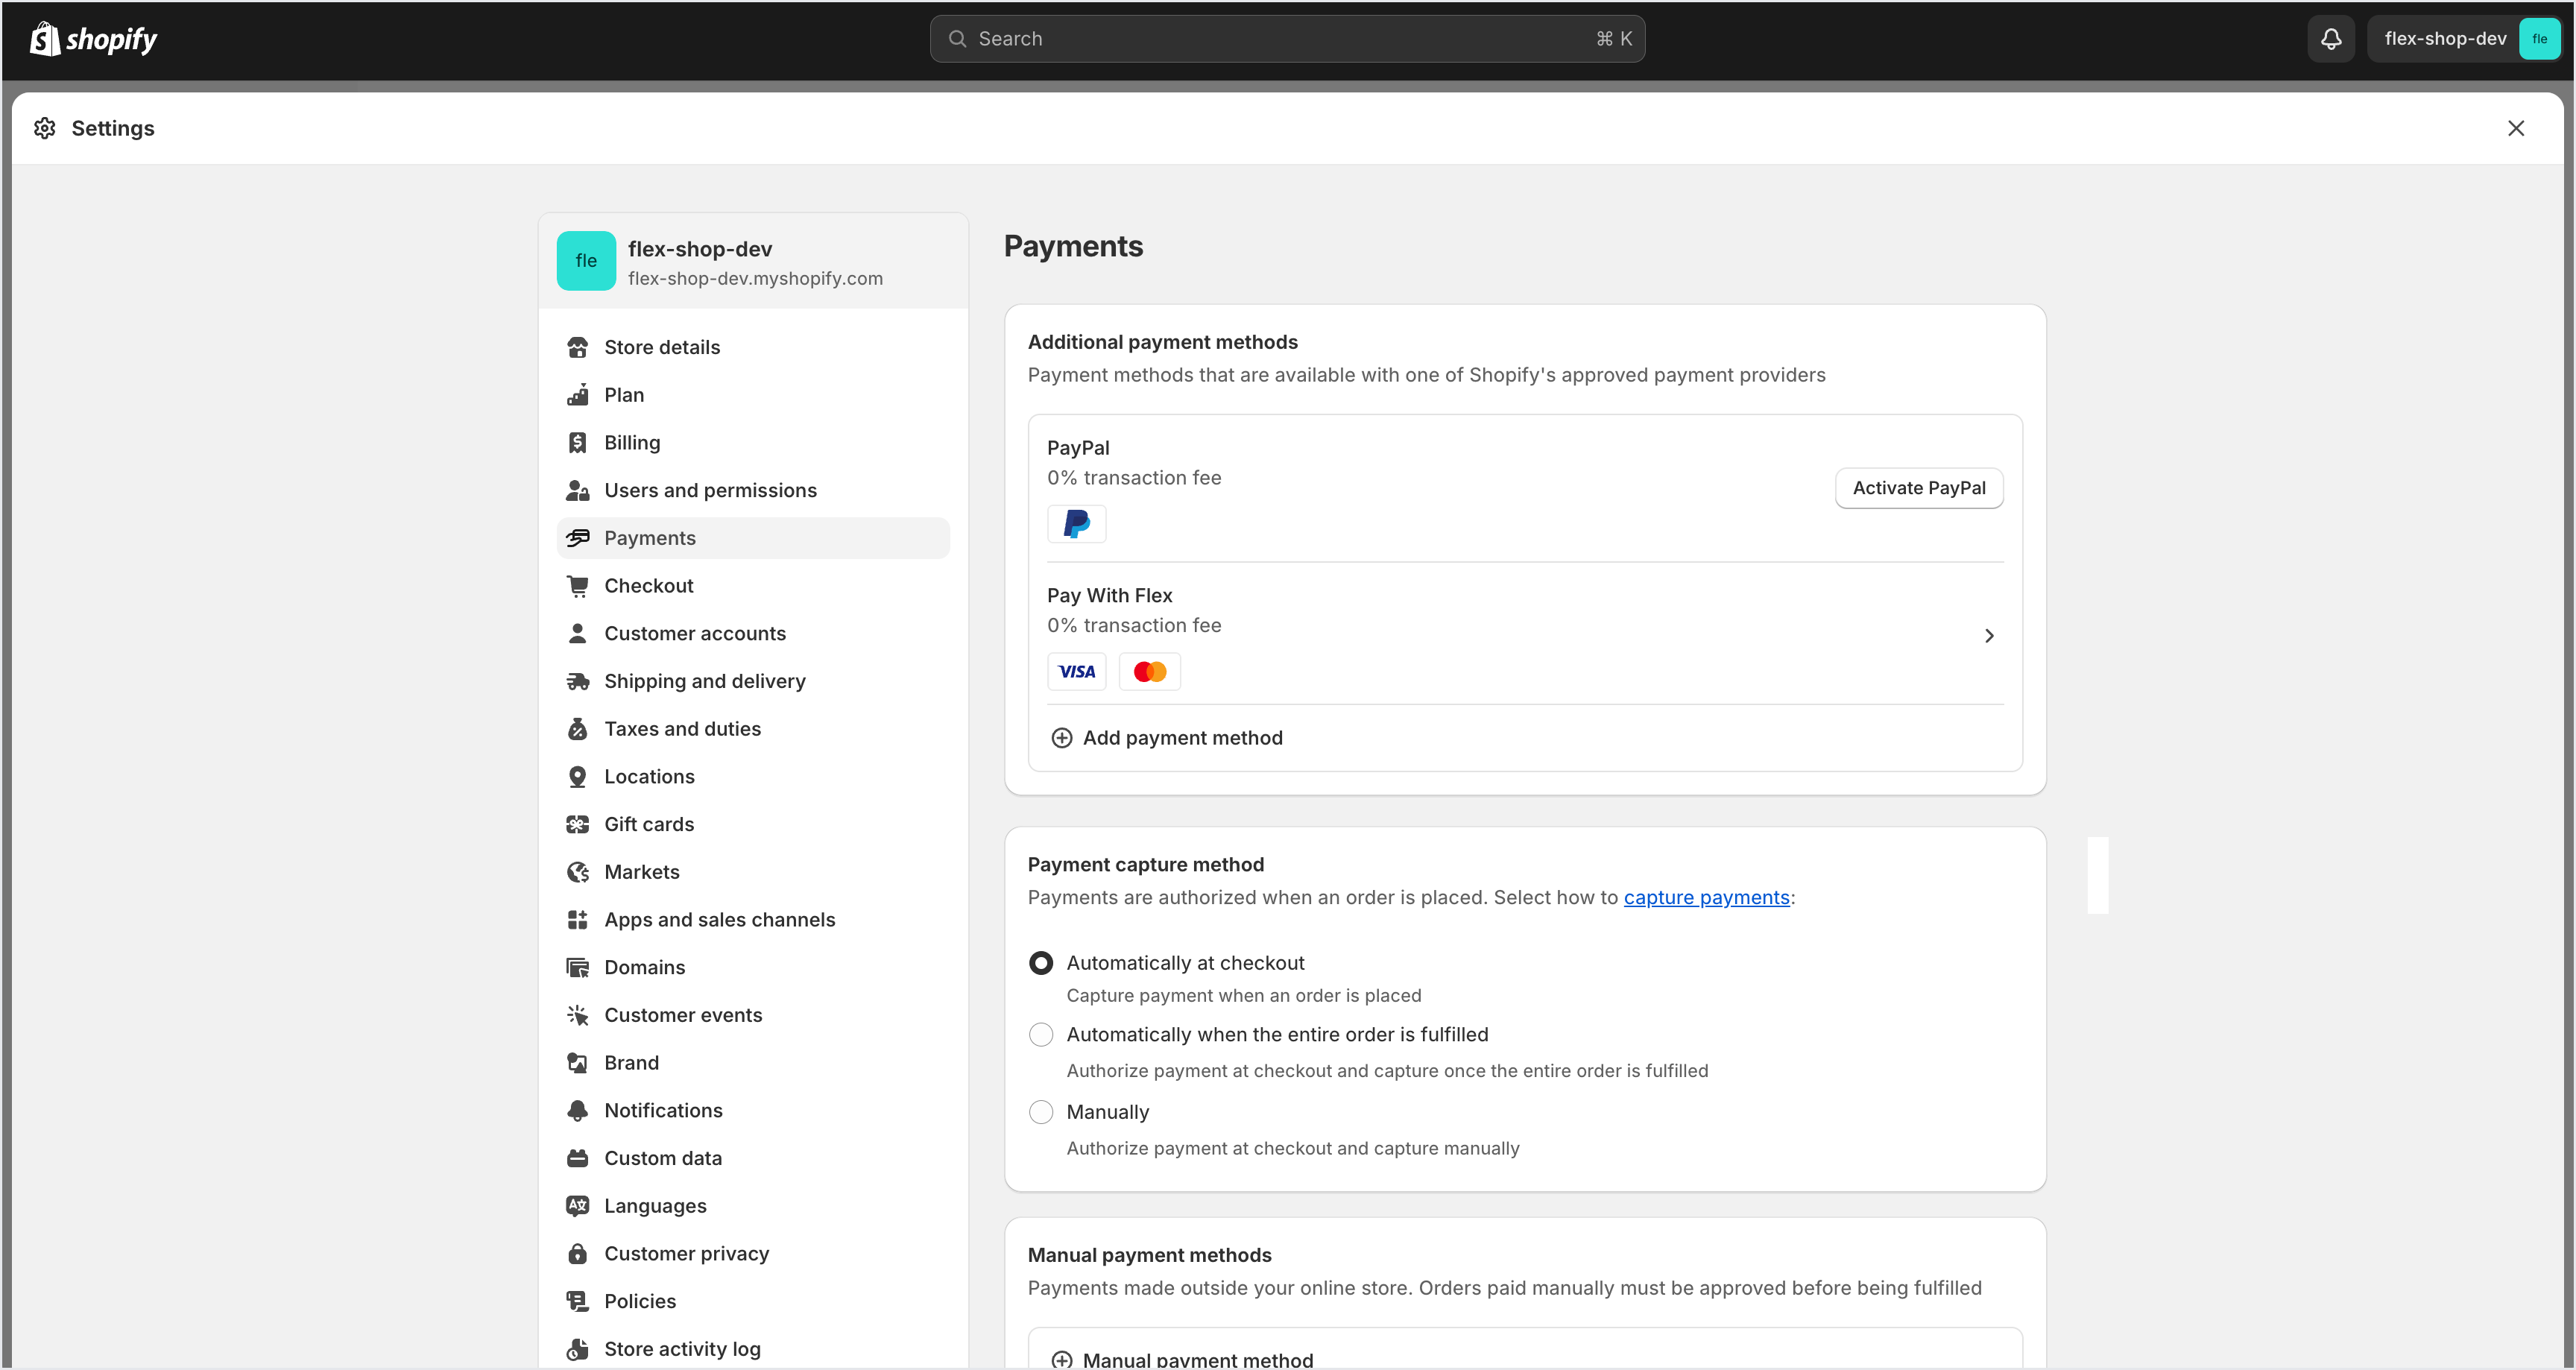
Confirm Flex payment functionality
Navigate to Settings and select Payments to verify that “Pay with Flex” is set to ‘Active’.