This guide assumes you’ve already created your Flex account and added your payout information. Complete that first if you haven’t.
Installation guide
Connect your Shopify store from Flex
In the Flex dashboard, navigate to Settings → Integrations → Shopify.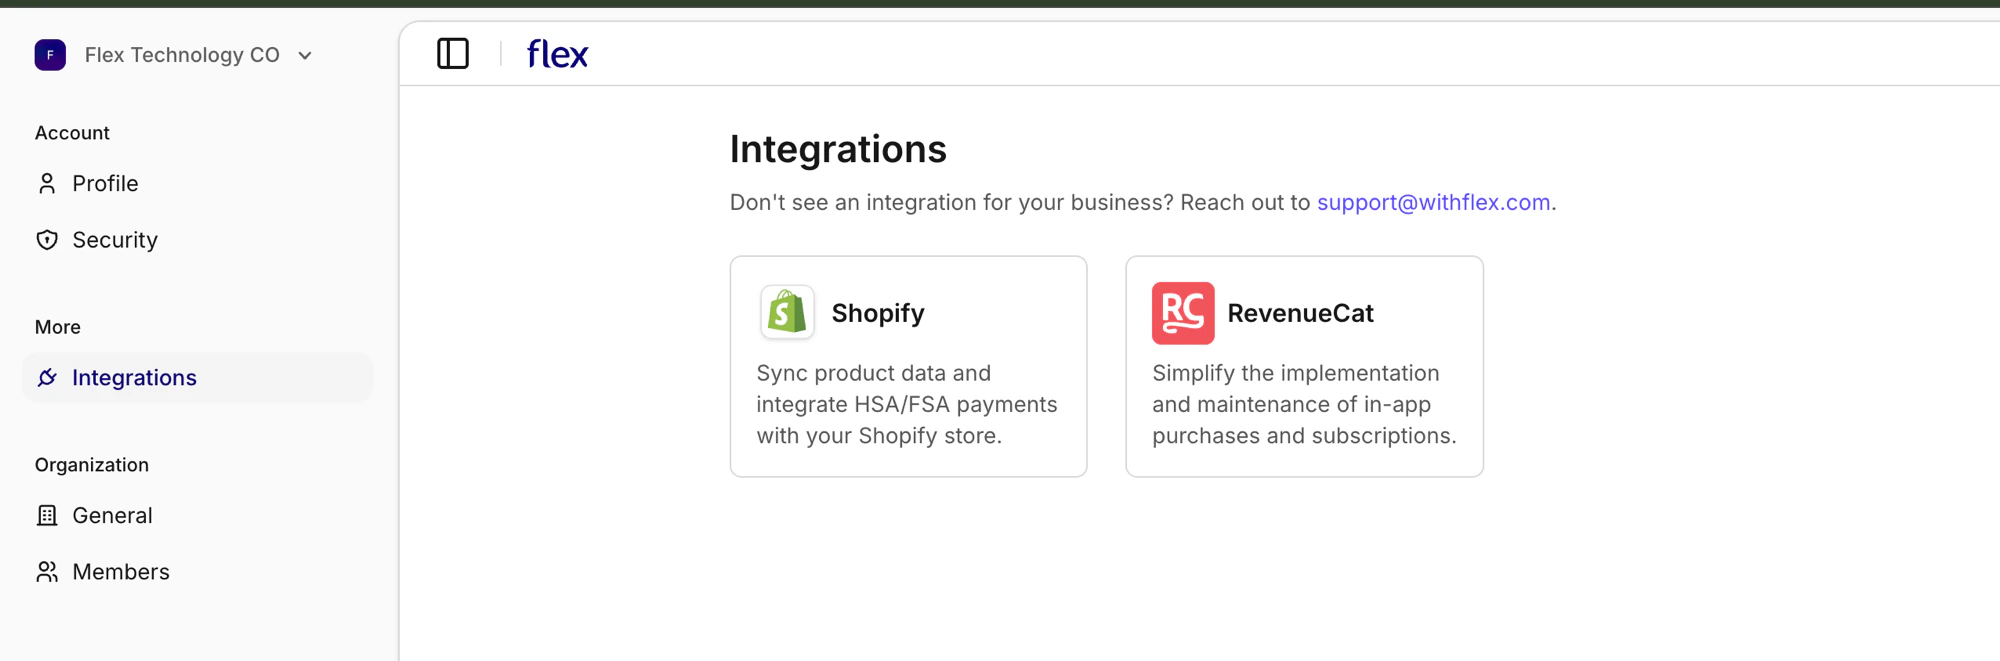
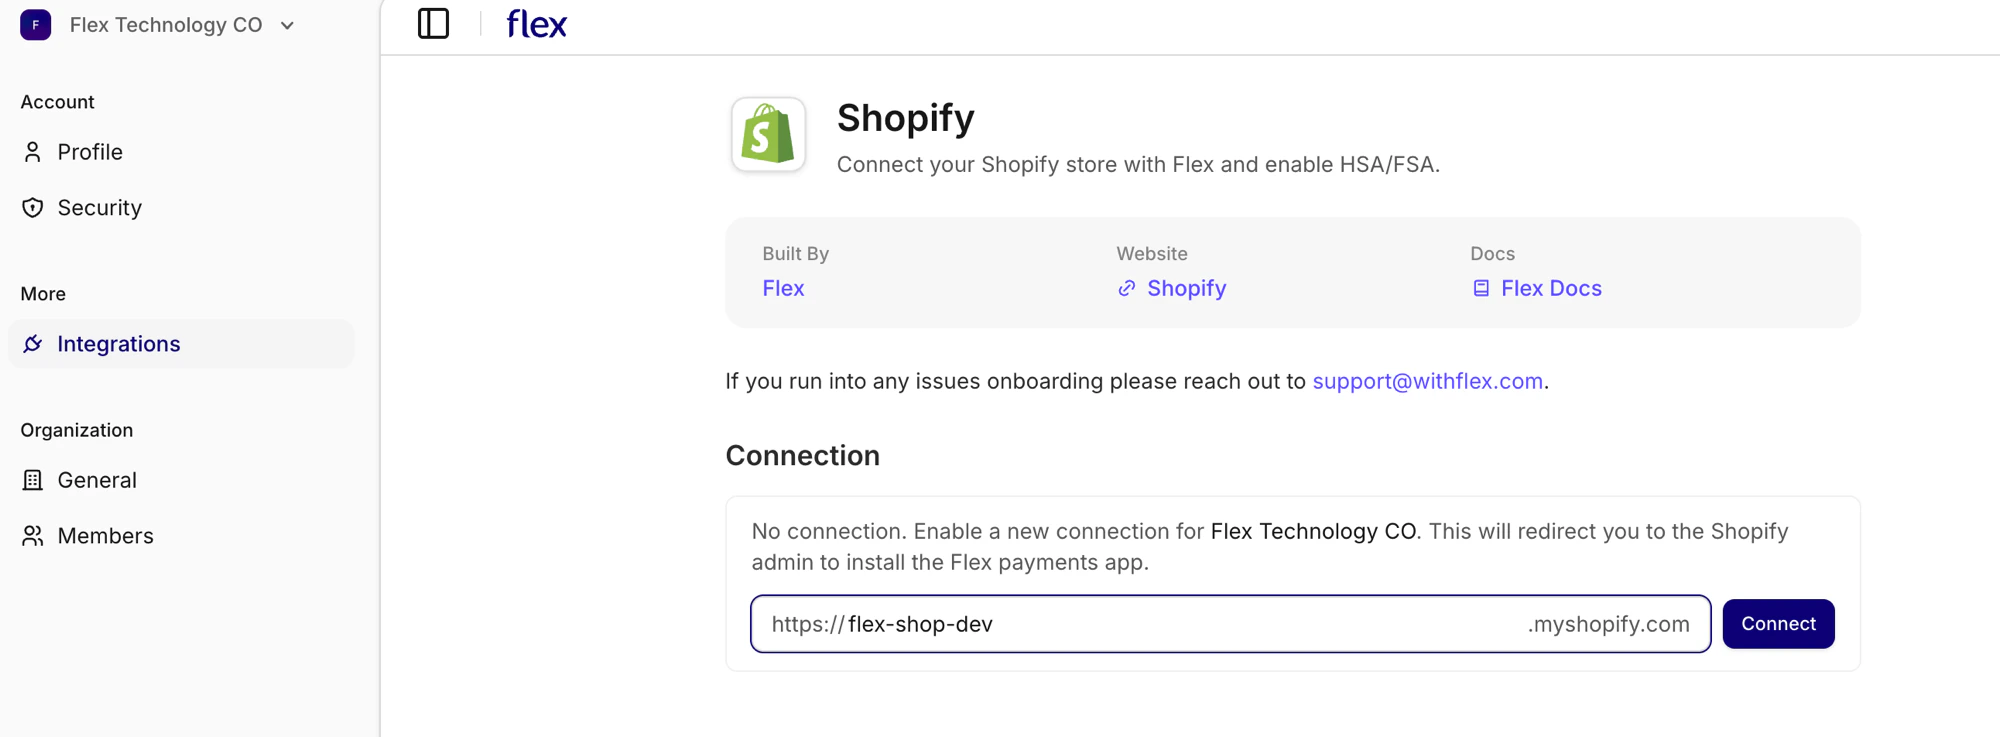
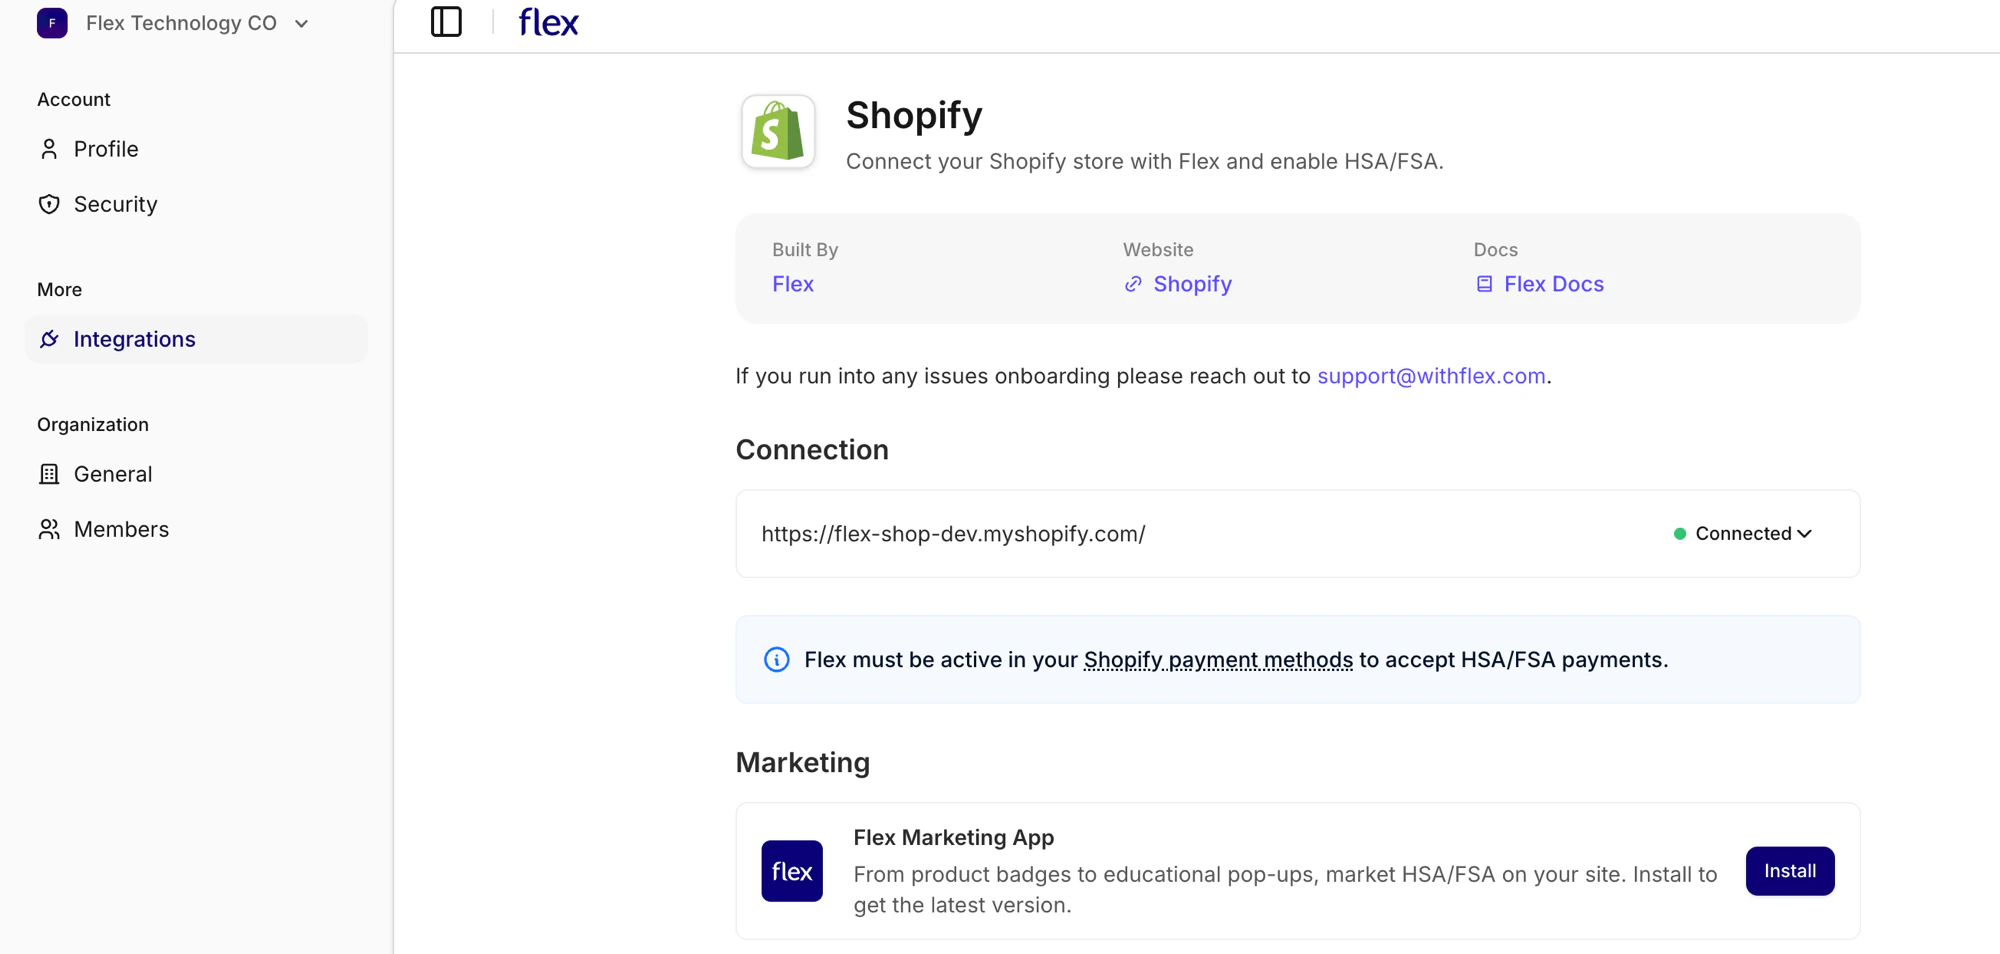
your-store for your-store.myshopify.com) and click Connect.Product sync can take several minutes or longer depending on the number of products in your store. You can leave the page — sync continues in the background and the dashboard updates when it’s done.
If the Connect button doesn’t open Shopify Admin, see Installing manually from the Shopify App Store below.
Sync products & eligibility
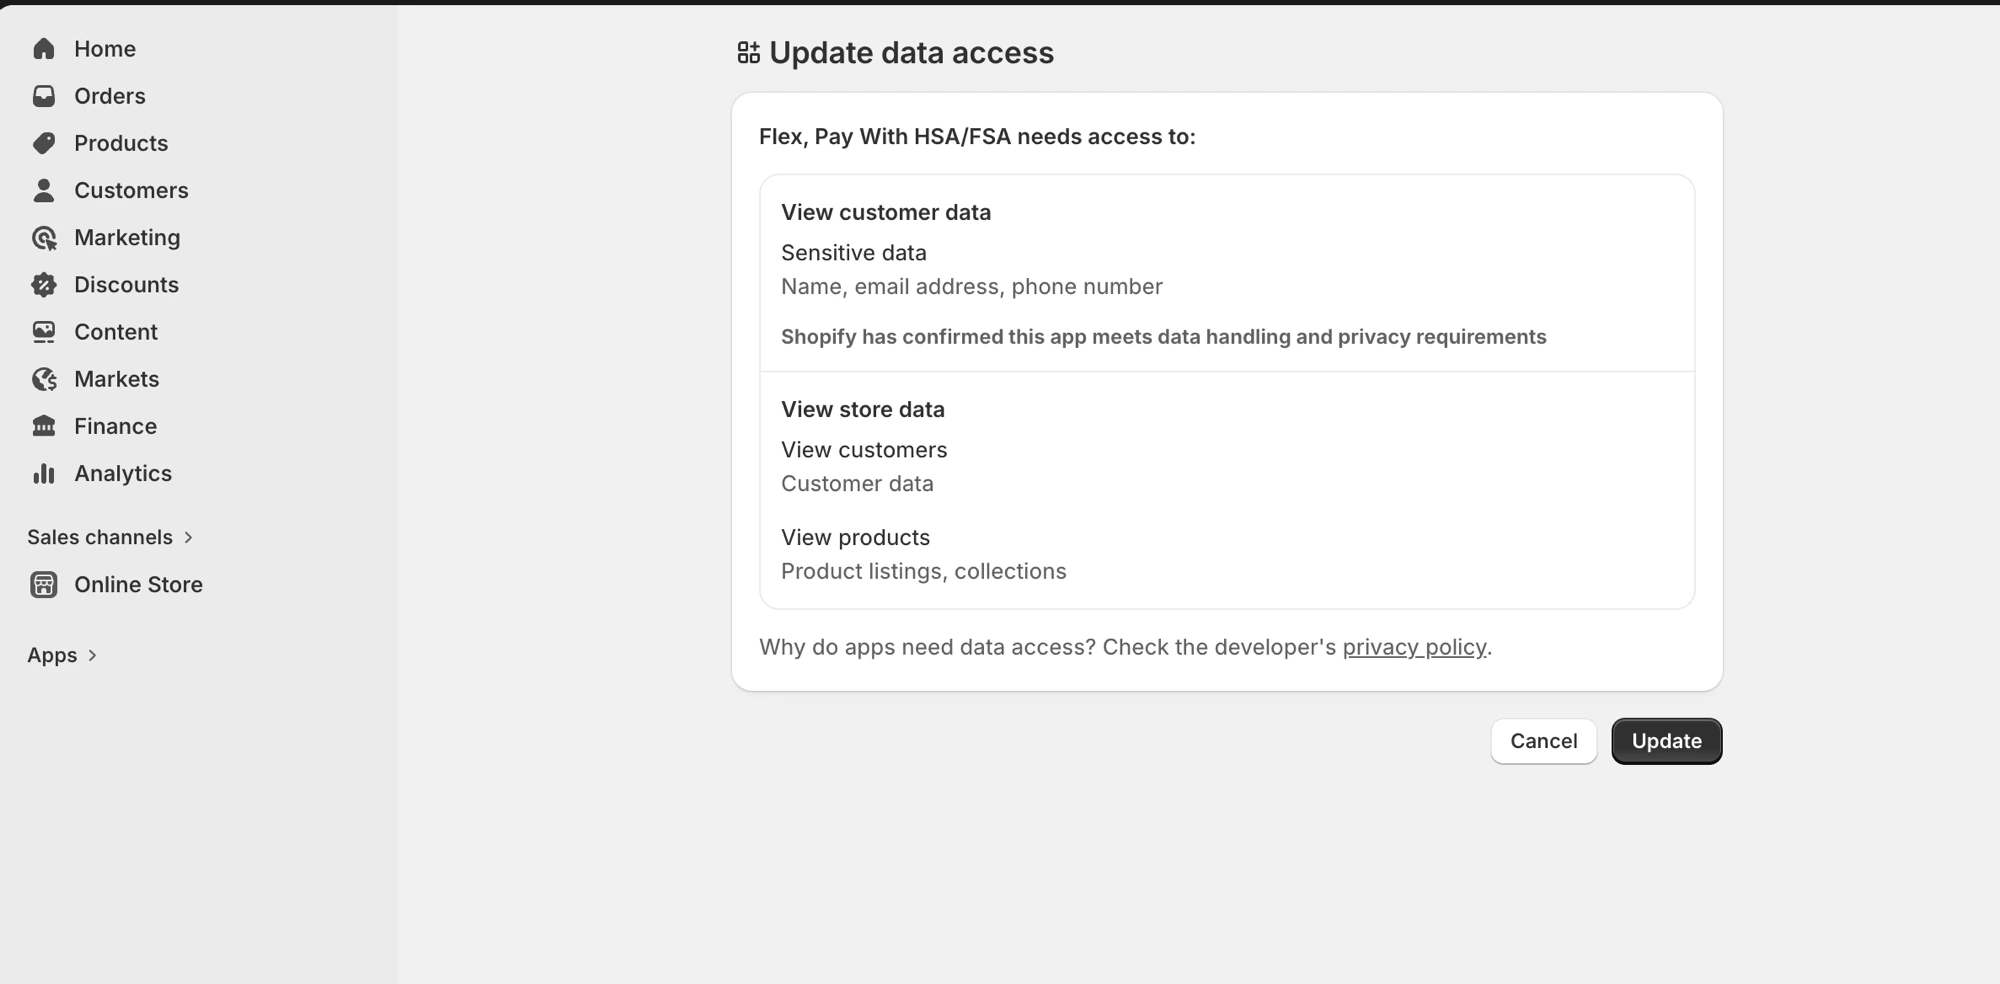
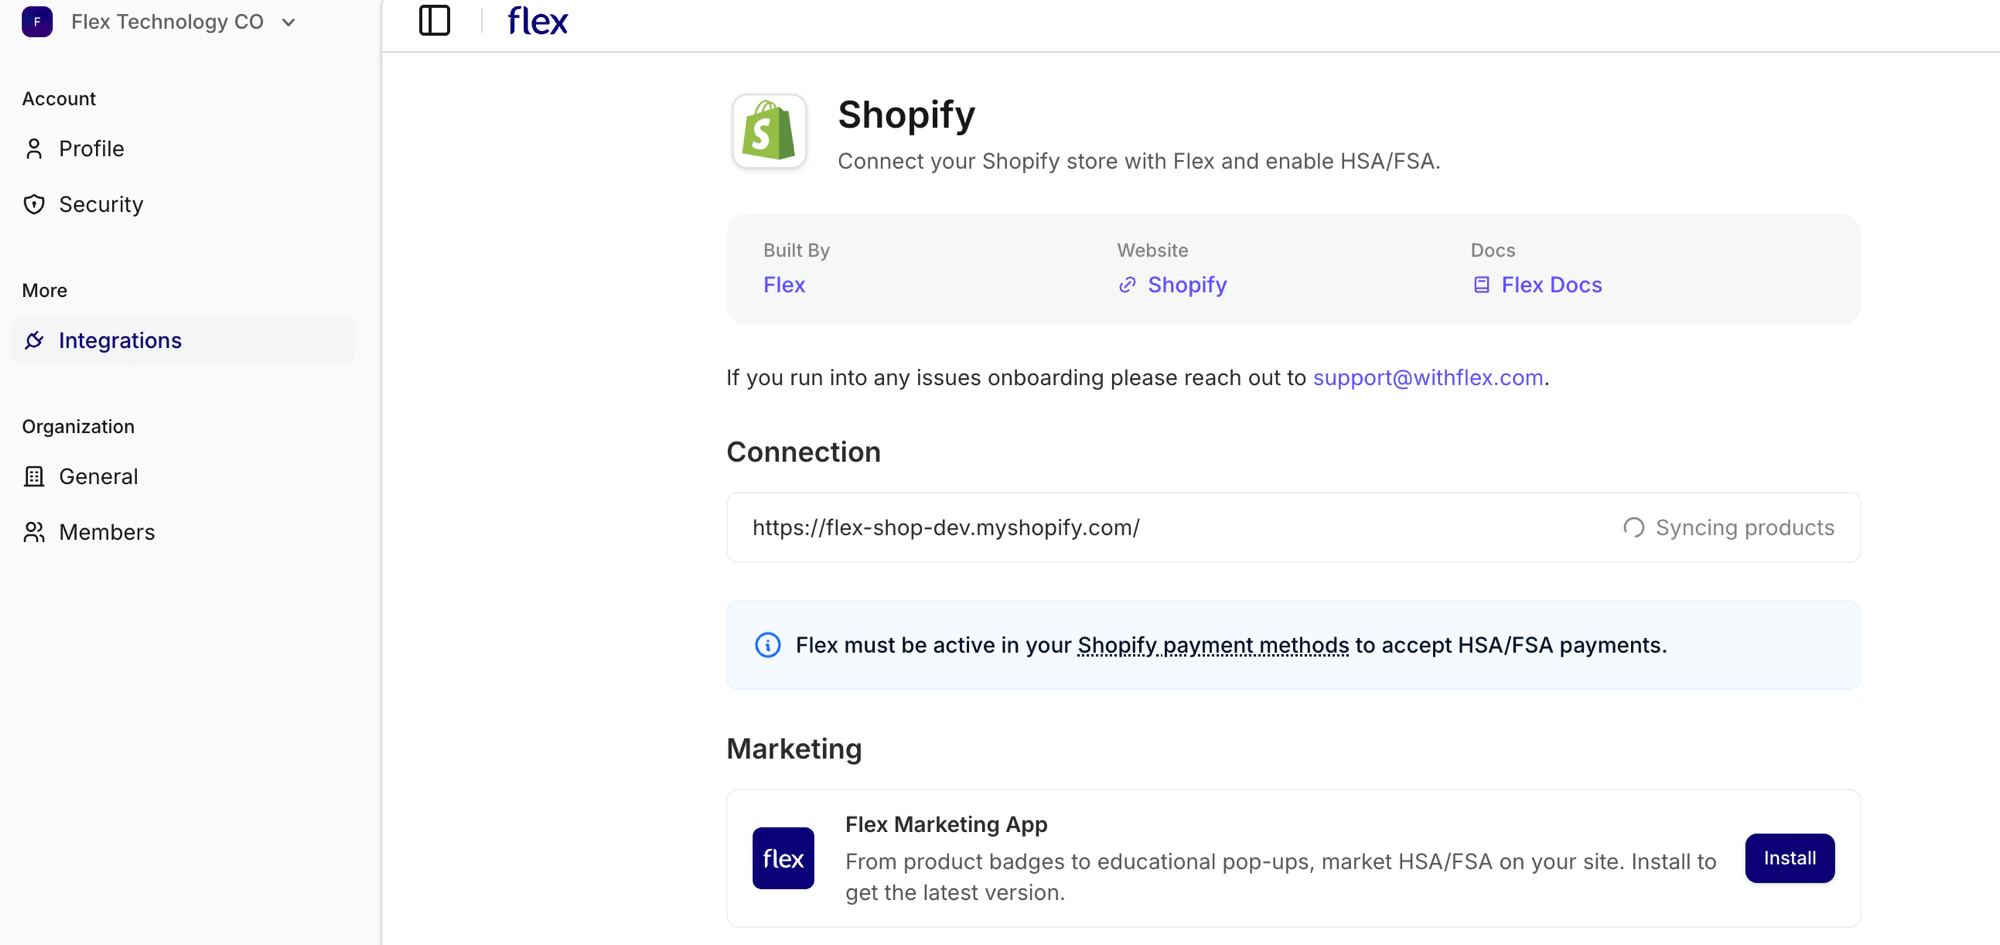
Flex syncs the products from your Shopify Store and creates a corresponding product in Flex. We also configure a webhook that listens for any product changes on your Shopify store.Once synced, Flex will automatically determine HSA/FSA eligibility for all products using an intelligent multi-stage pipeline and categorize products into the following eligibility types:
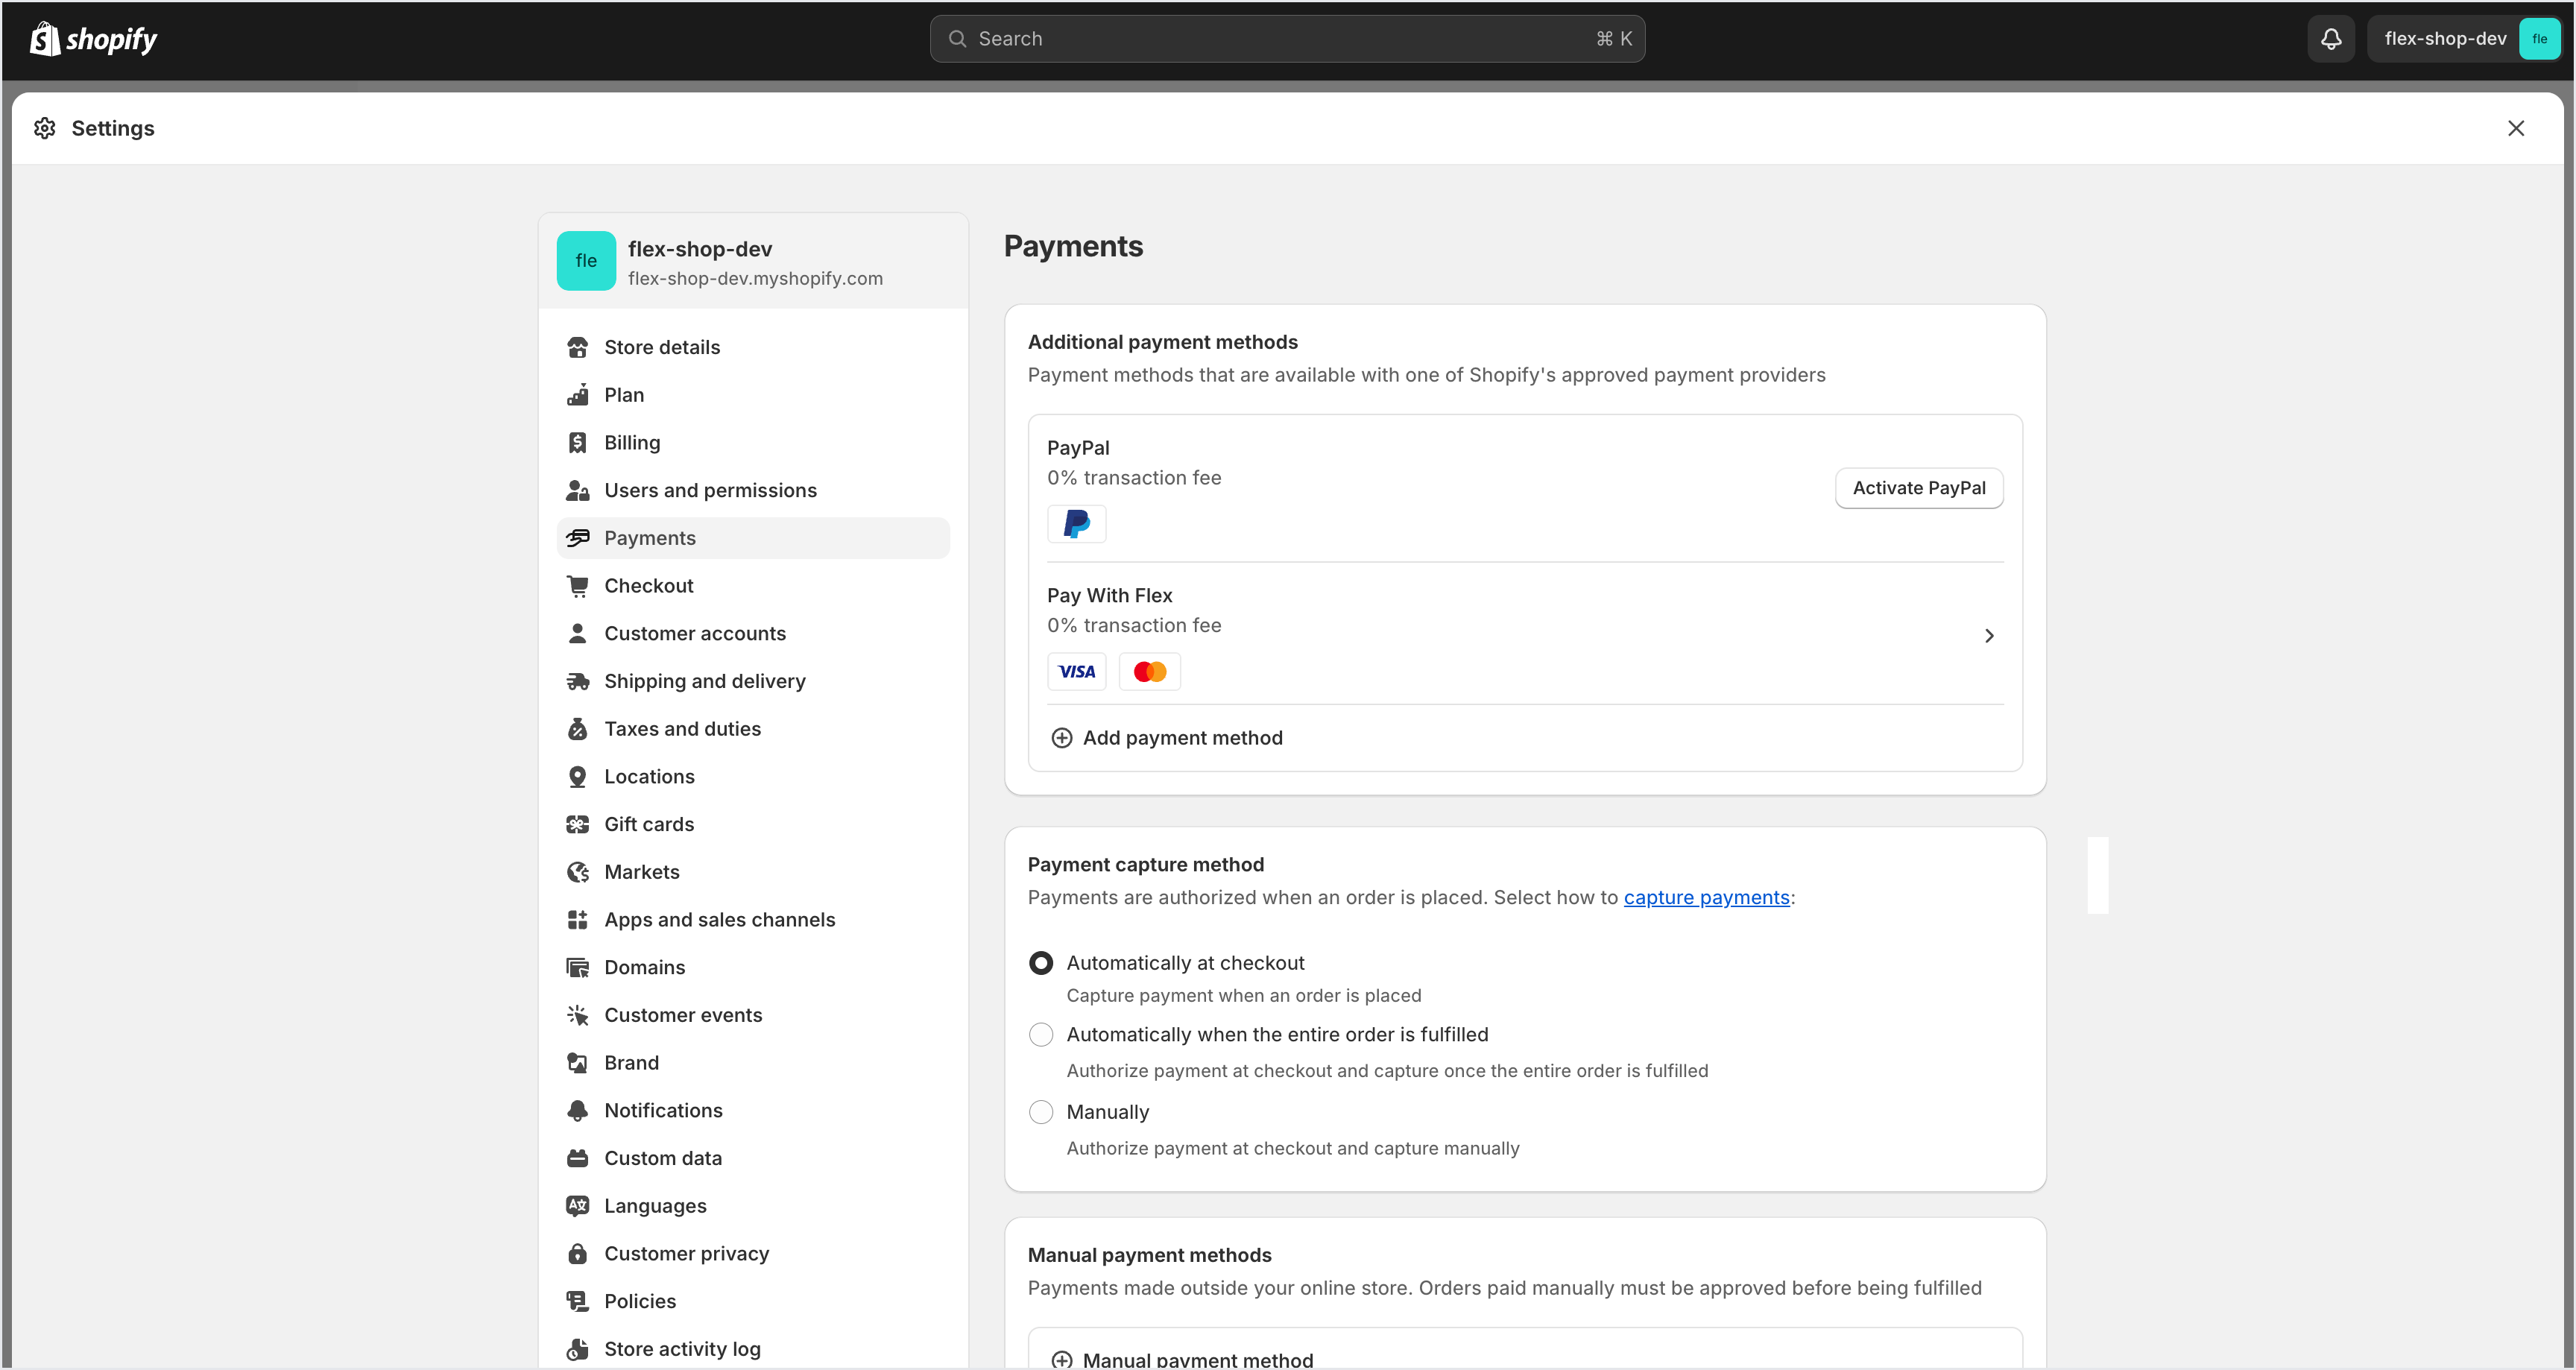
Configure Flex as a payment gateway on your store
In Shopify Admin, navigate to Settings → Payments and verify that “Pay with Flex” is set to ‘Active’.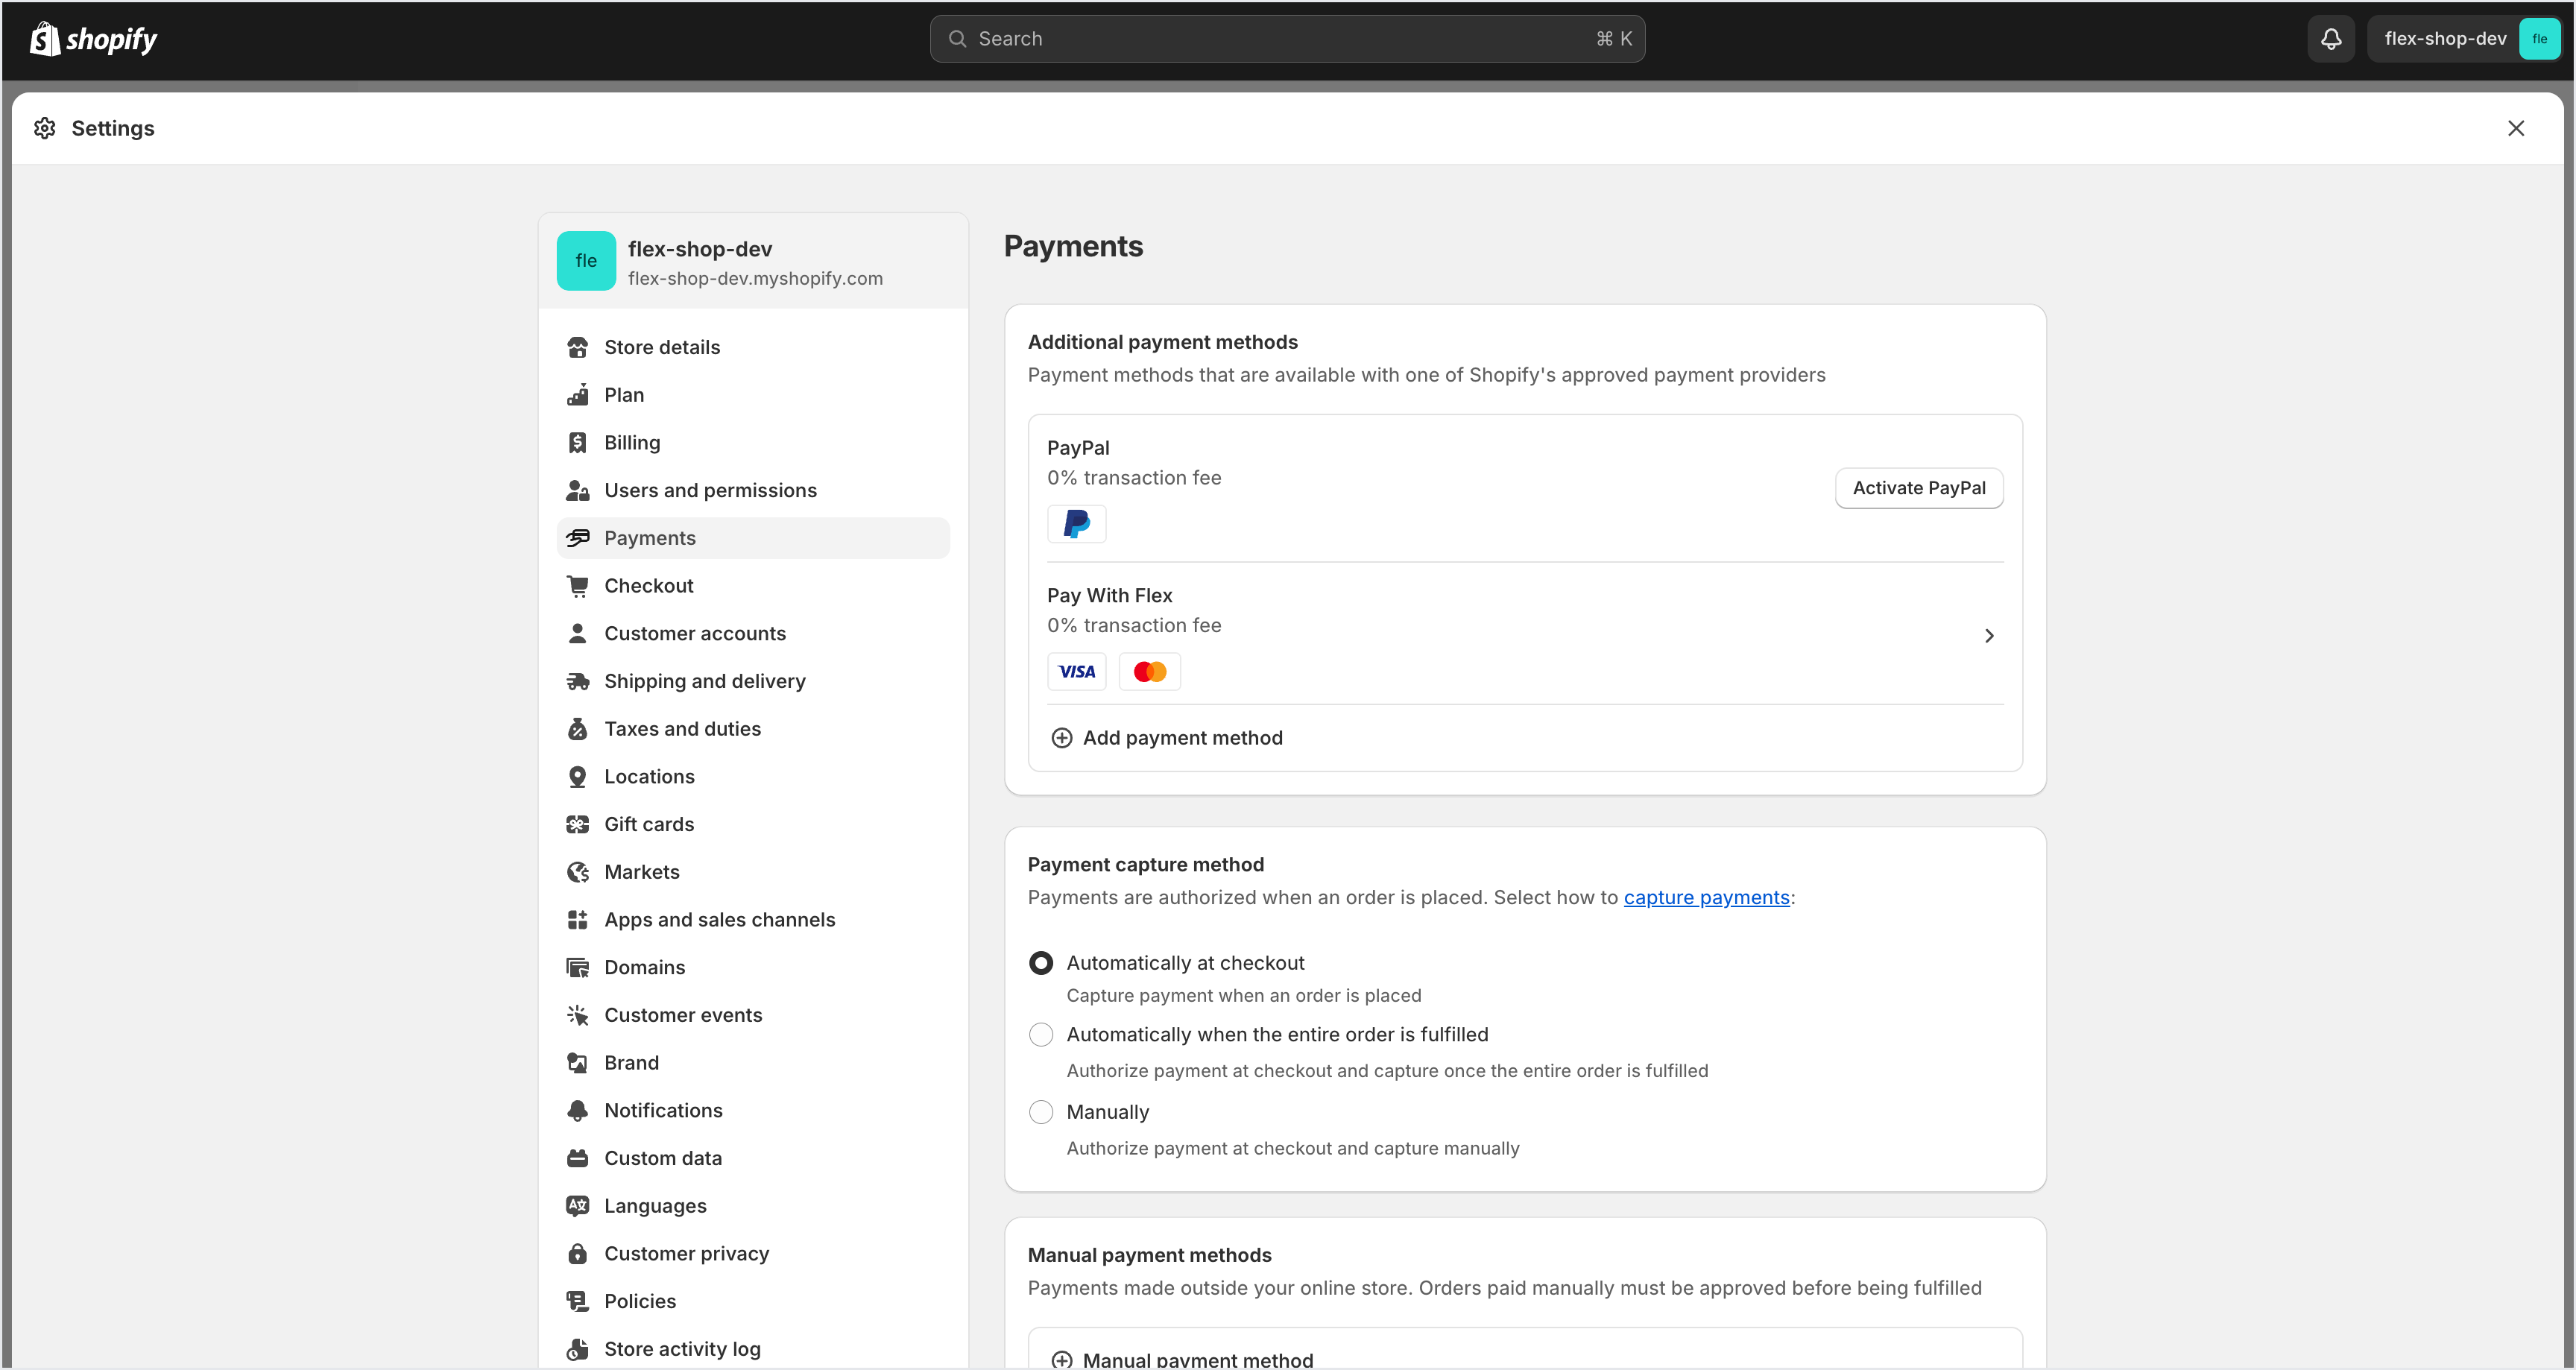
Confirm Flex checkout functionality
Navigate to Settings and select Customer Events to verify the Flex Pixel status is ‘Connected’.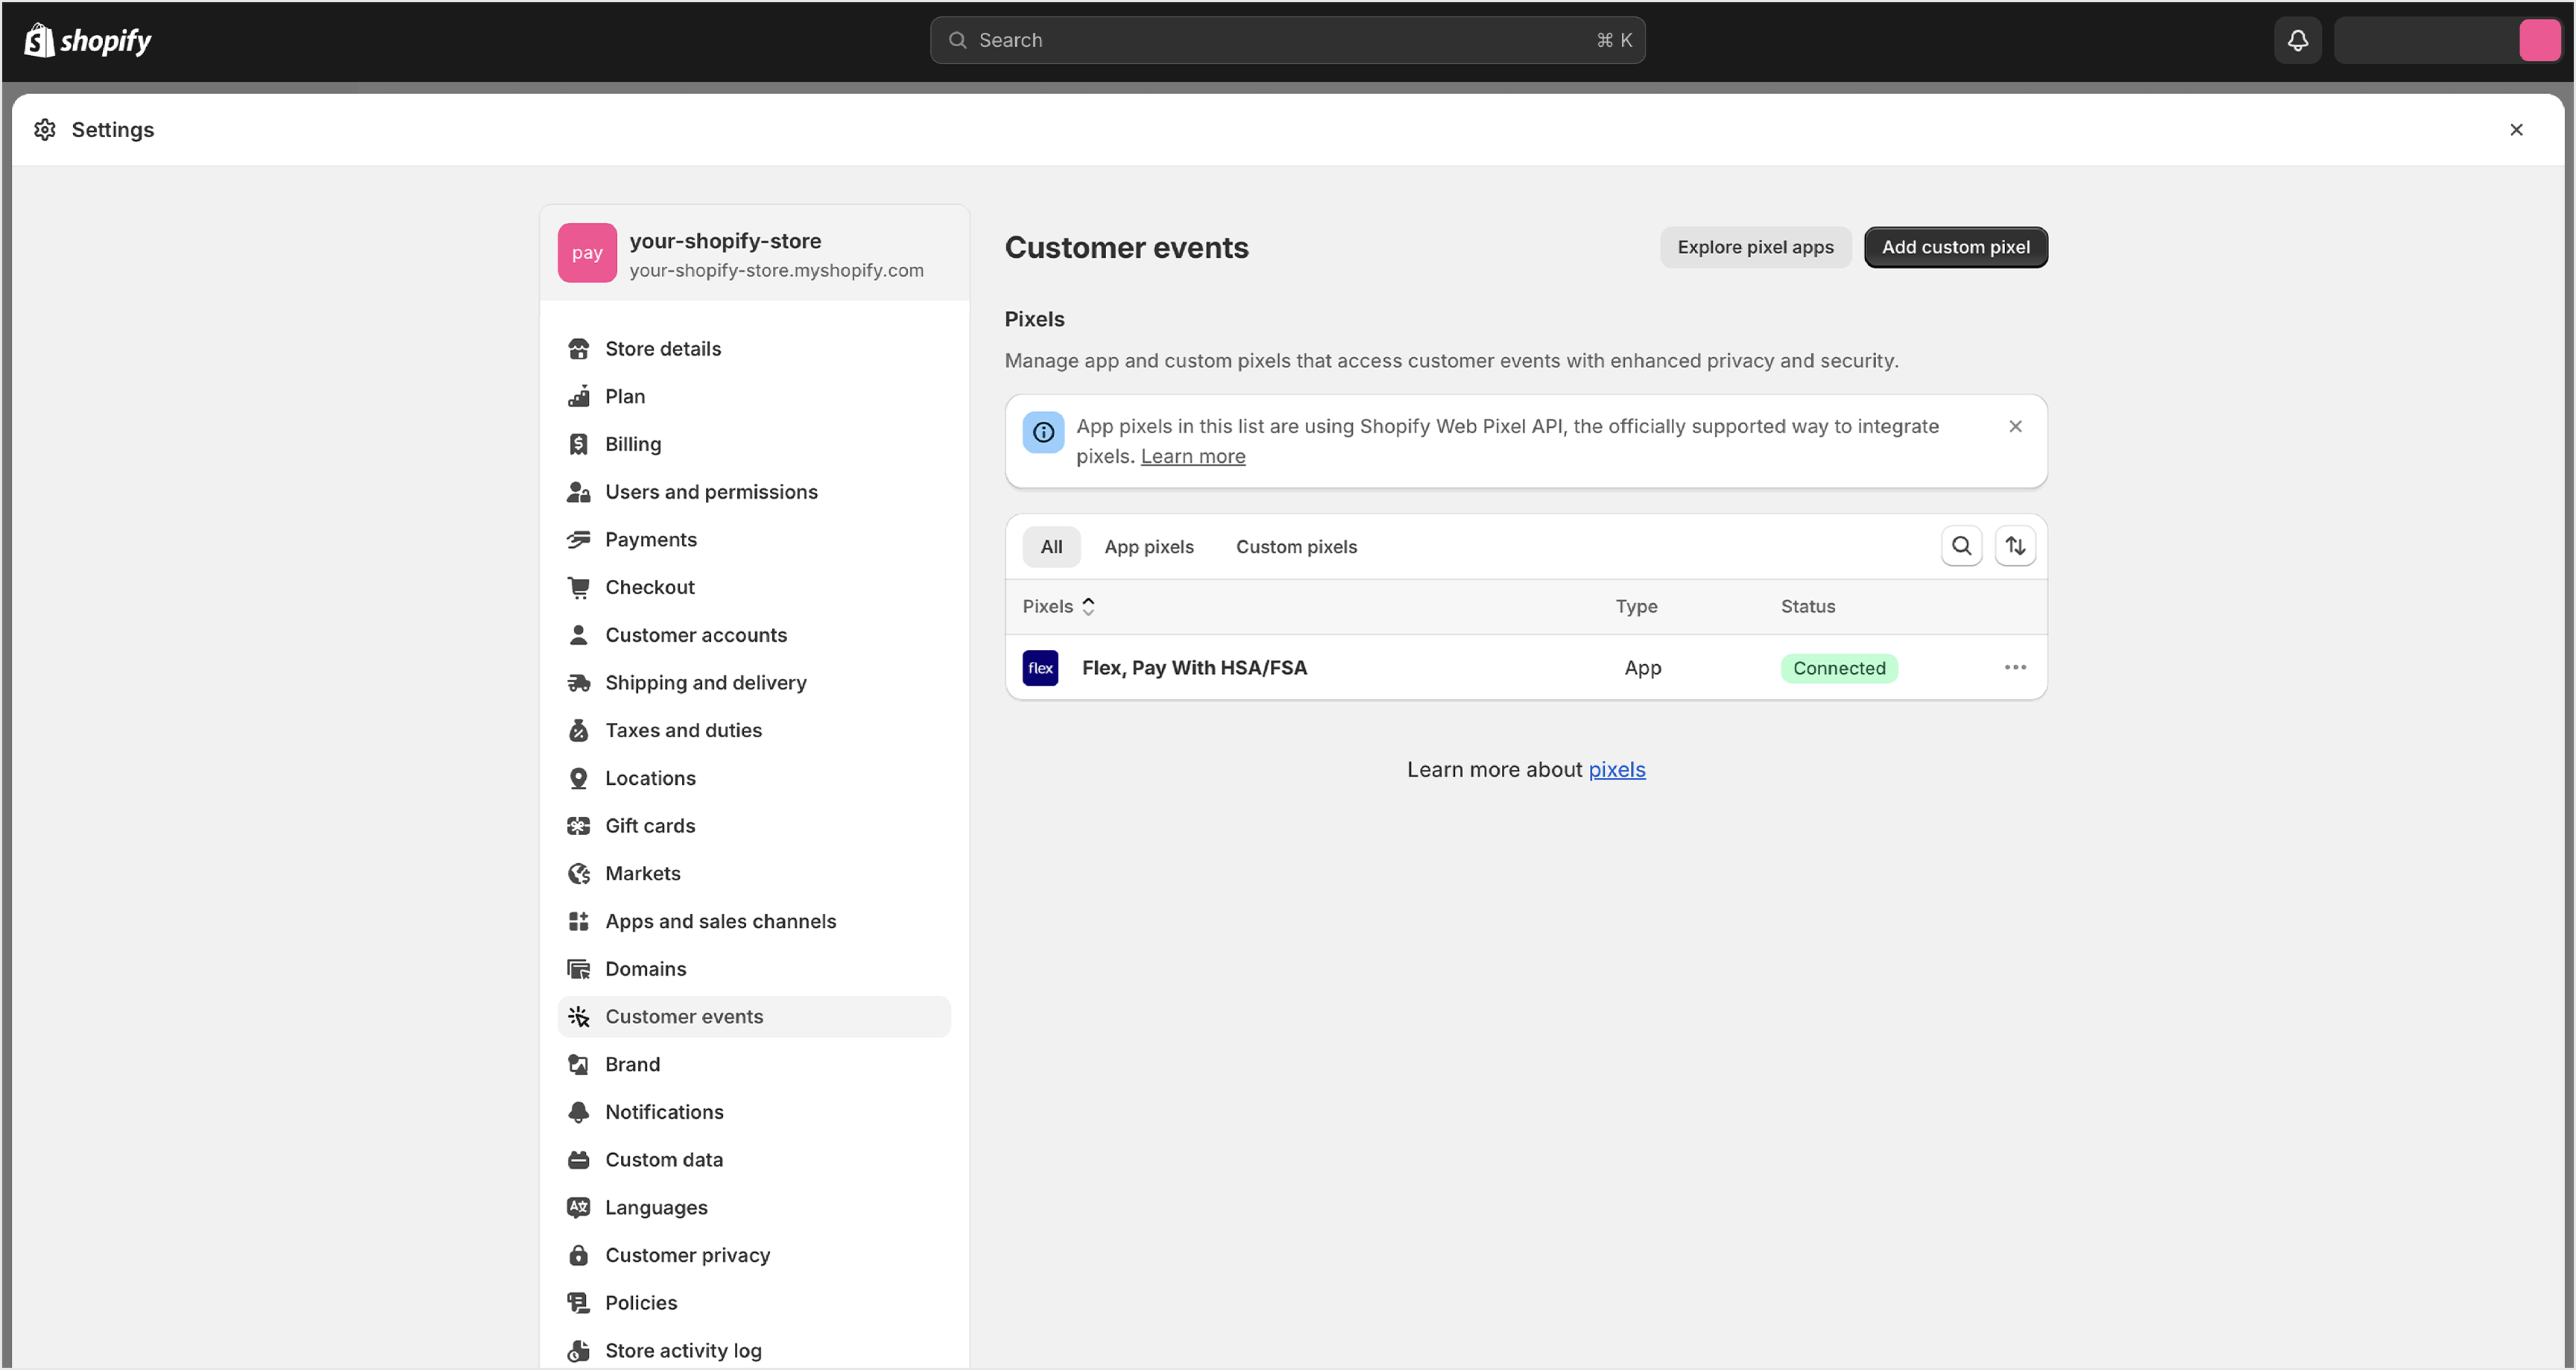
Installing manually from the Shopify App Store
If the Connect button in step 1 doesn’t open Shopify Admin, or you run into errors during the automatic install, you can install the Flex app directly from the Shopify App Store.Open the Flex Shopify Payments App listing
Navigate to the Flex Shopify Payments App listing and click Install.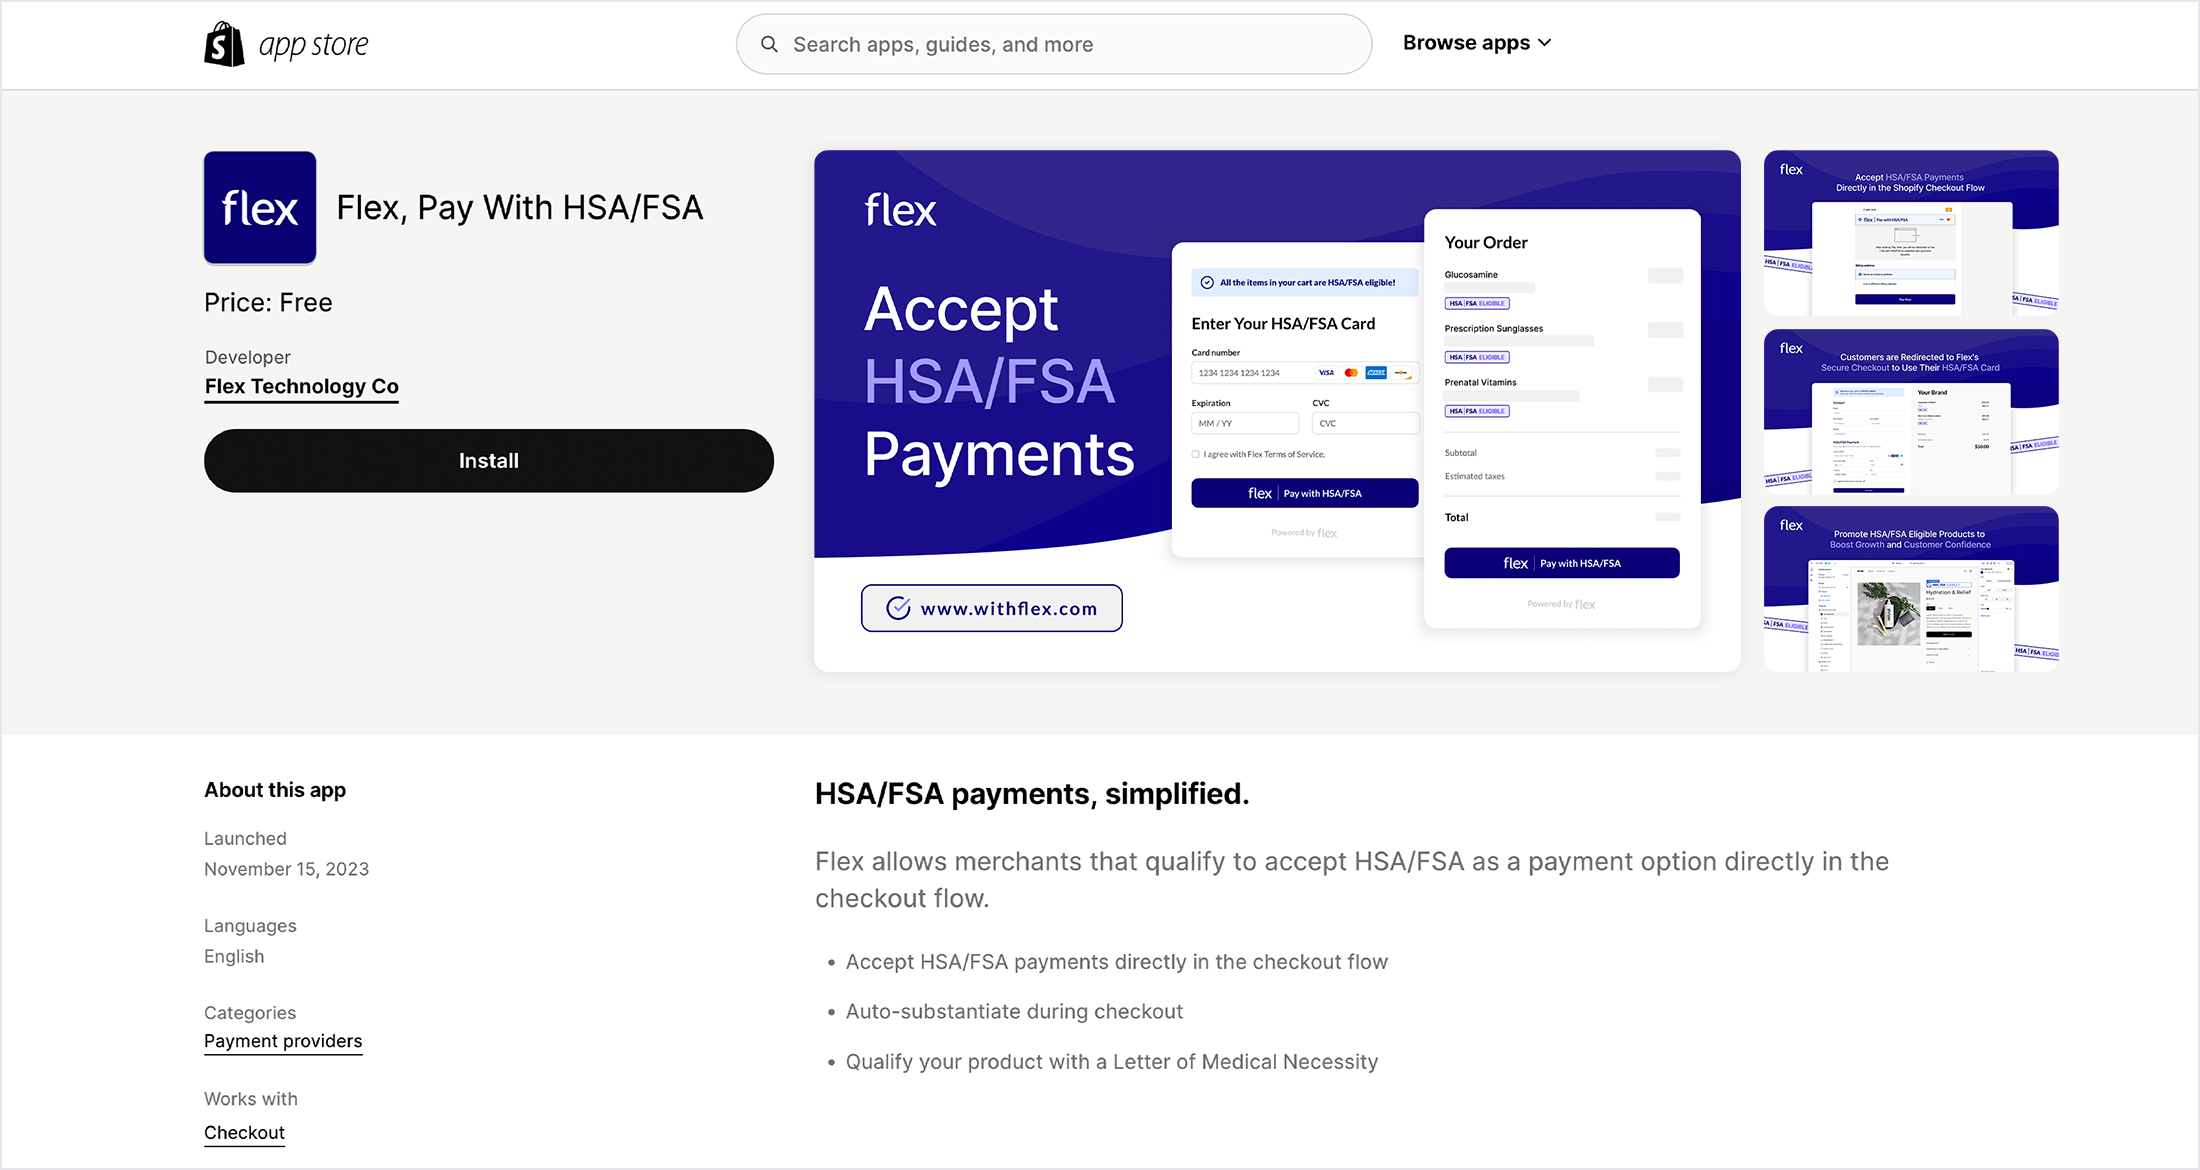
Install the Flex Marketing App
Promote HSA/FSA across your storefront with dynamic badges, a prebuilt landing page, and product eligibility synced from Flex.