Flex for WooCommerce Installation
Follow the steps below to set up your Flex account and configure your WooCommerce store.
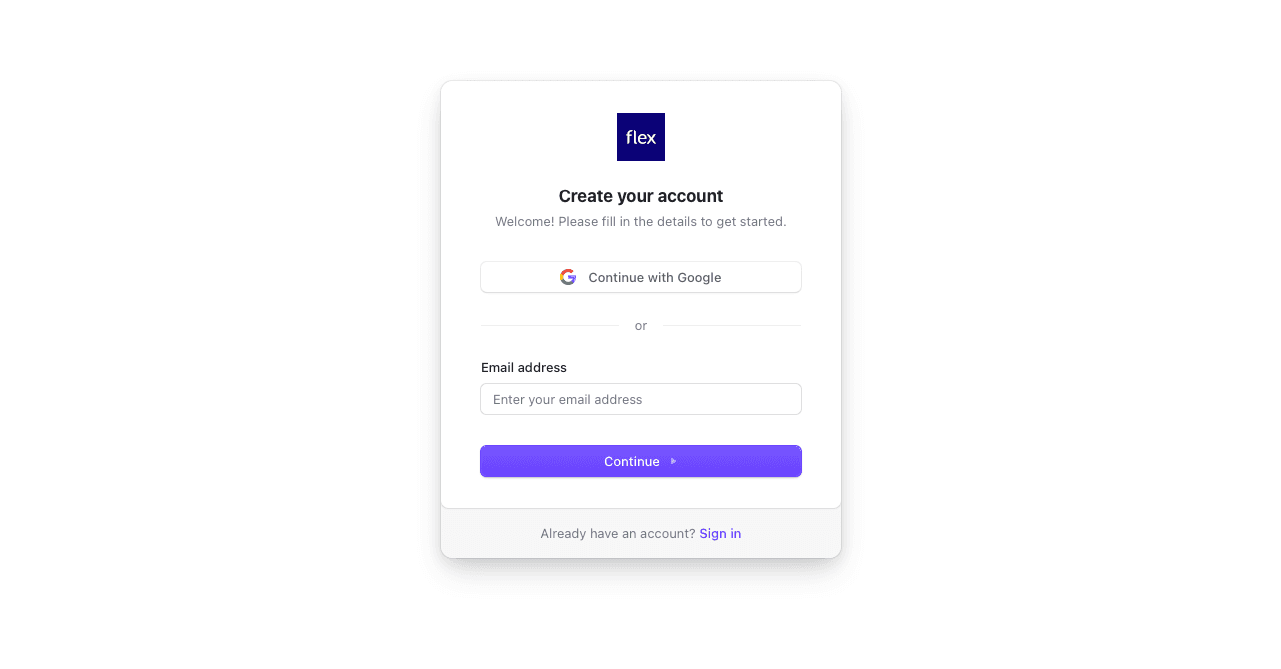
Create an account with Flex
Navigate to the registration page (opens in a new tab) to create an account. If you already have an account, you can log in (opens in a new tab) to Flex Dashboard (opens in a new tab)
Add Payout Information
Click the prompt at the top of the screen to add your payout information.
If you do not have a Stripe account, you can create one (opens in a new tab).

Navigate to Add Plugin in WordPress
Within your WooCommerce store, navigate to Plugins → Add Plugin which is located
at /wp-admin/plugin-install.php.

Search & Install
Search for flex hsa which is located at /wp-admin/plugin-install.php?s=flex%2520hsa&tab=search&type=term

Click "Install Now" and follow the steps to install and activate the plugin.
Navigate to Payments in WooCommerce
Within your WooCommerce store, navigate to WooCommerce → Settings → Payments
which is located at /wp-admin/admin.php?page=wc-settings&tab=checkout.

Manage Flex Settings
Click "Manage" on the Flex payment gateway which will bring you to
/wp-admin/admin.php?page=wc-settings&tab=checkout§ion=flex

Navigate to API Keys
Click the "Flex Dashboard" link which will bring you to the API Keys (opens in a new tab) page.

Create a new API Key
Create a new API Key by clicking "New API Key" you may name it whatever you would like.

Copy Token
Copy the created API Key Token and return to the Flex Settings in WooCommerce

Enable Flex
Select "Enable Flex" and add the API Key in the box provided. Click "Save changes."

You have successfully installed and enabled the Flex for WooCommerce plugin!
Products & Prices will begin
syncing in the background. You may check the status of the sync by navigating to
WooCommerce → Status → Scheduled Actions → Pending which is located at
/wp-admin/admin.php?page=wc-status&tab=action-scheduler&status=pending
