

Set up the workflow
Open Shopify Flow and create a workflow
From your Shopify admin, open Flow — a free workflow-automation app from Shopify — and create a new workflow. If Flow isn’t installed yet, add it from the Shopify App Store here.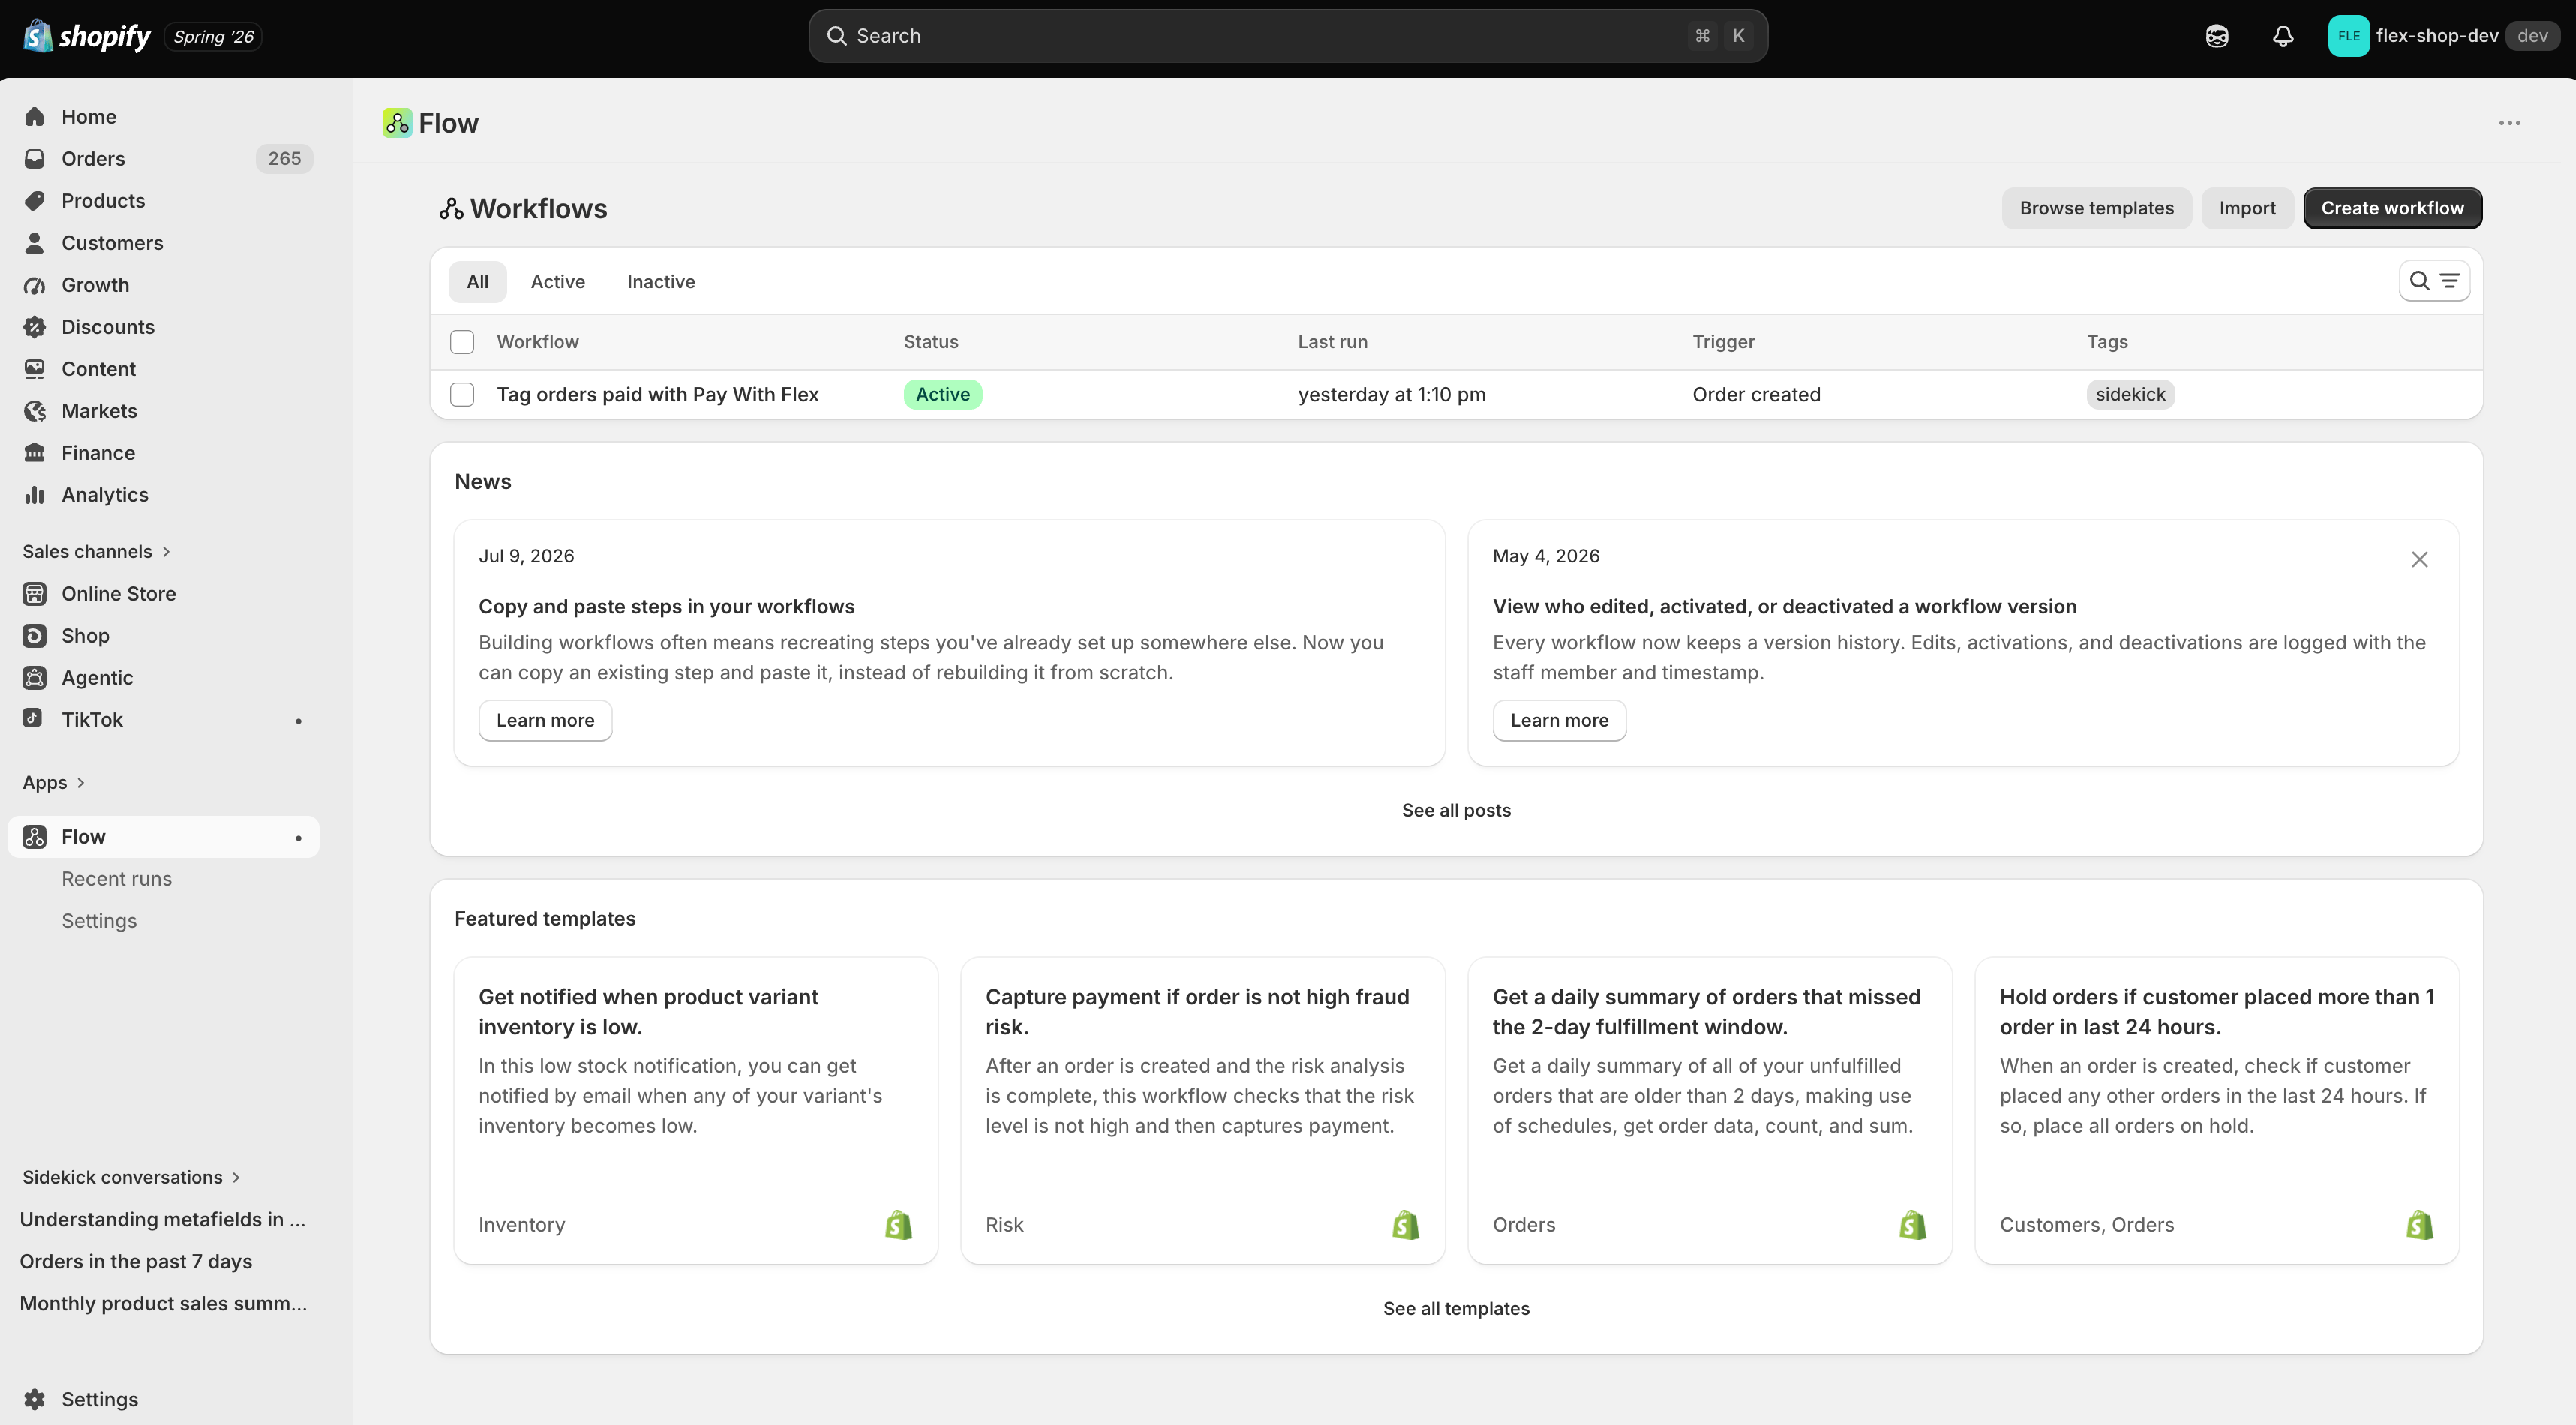
Describe the workflow
Use the Shopify AI to generate the workflow. Enter a prompt such as “Auto-tag orders with flex-hsa-fsa when the payment gateway is Pay With Flex” to start building the flow.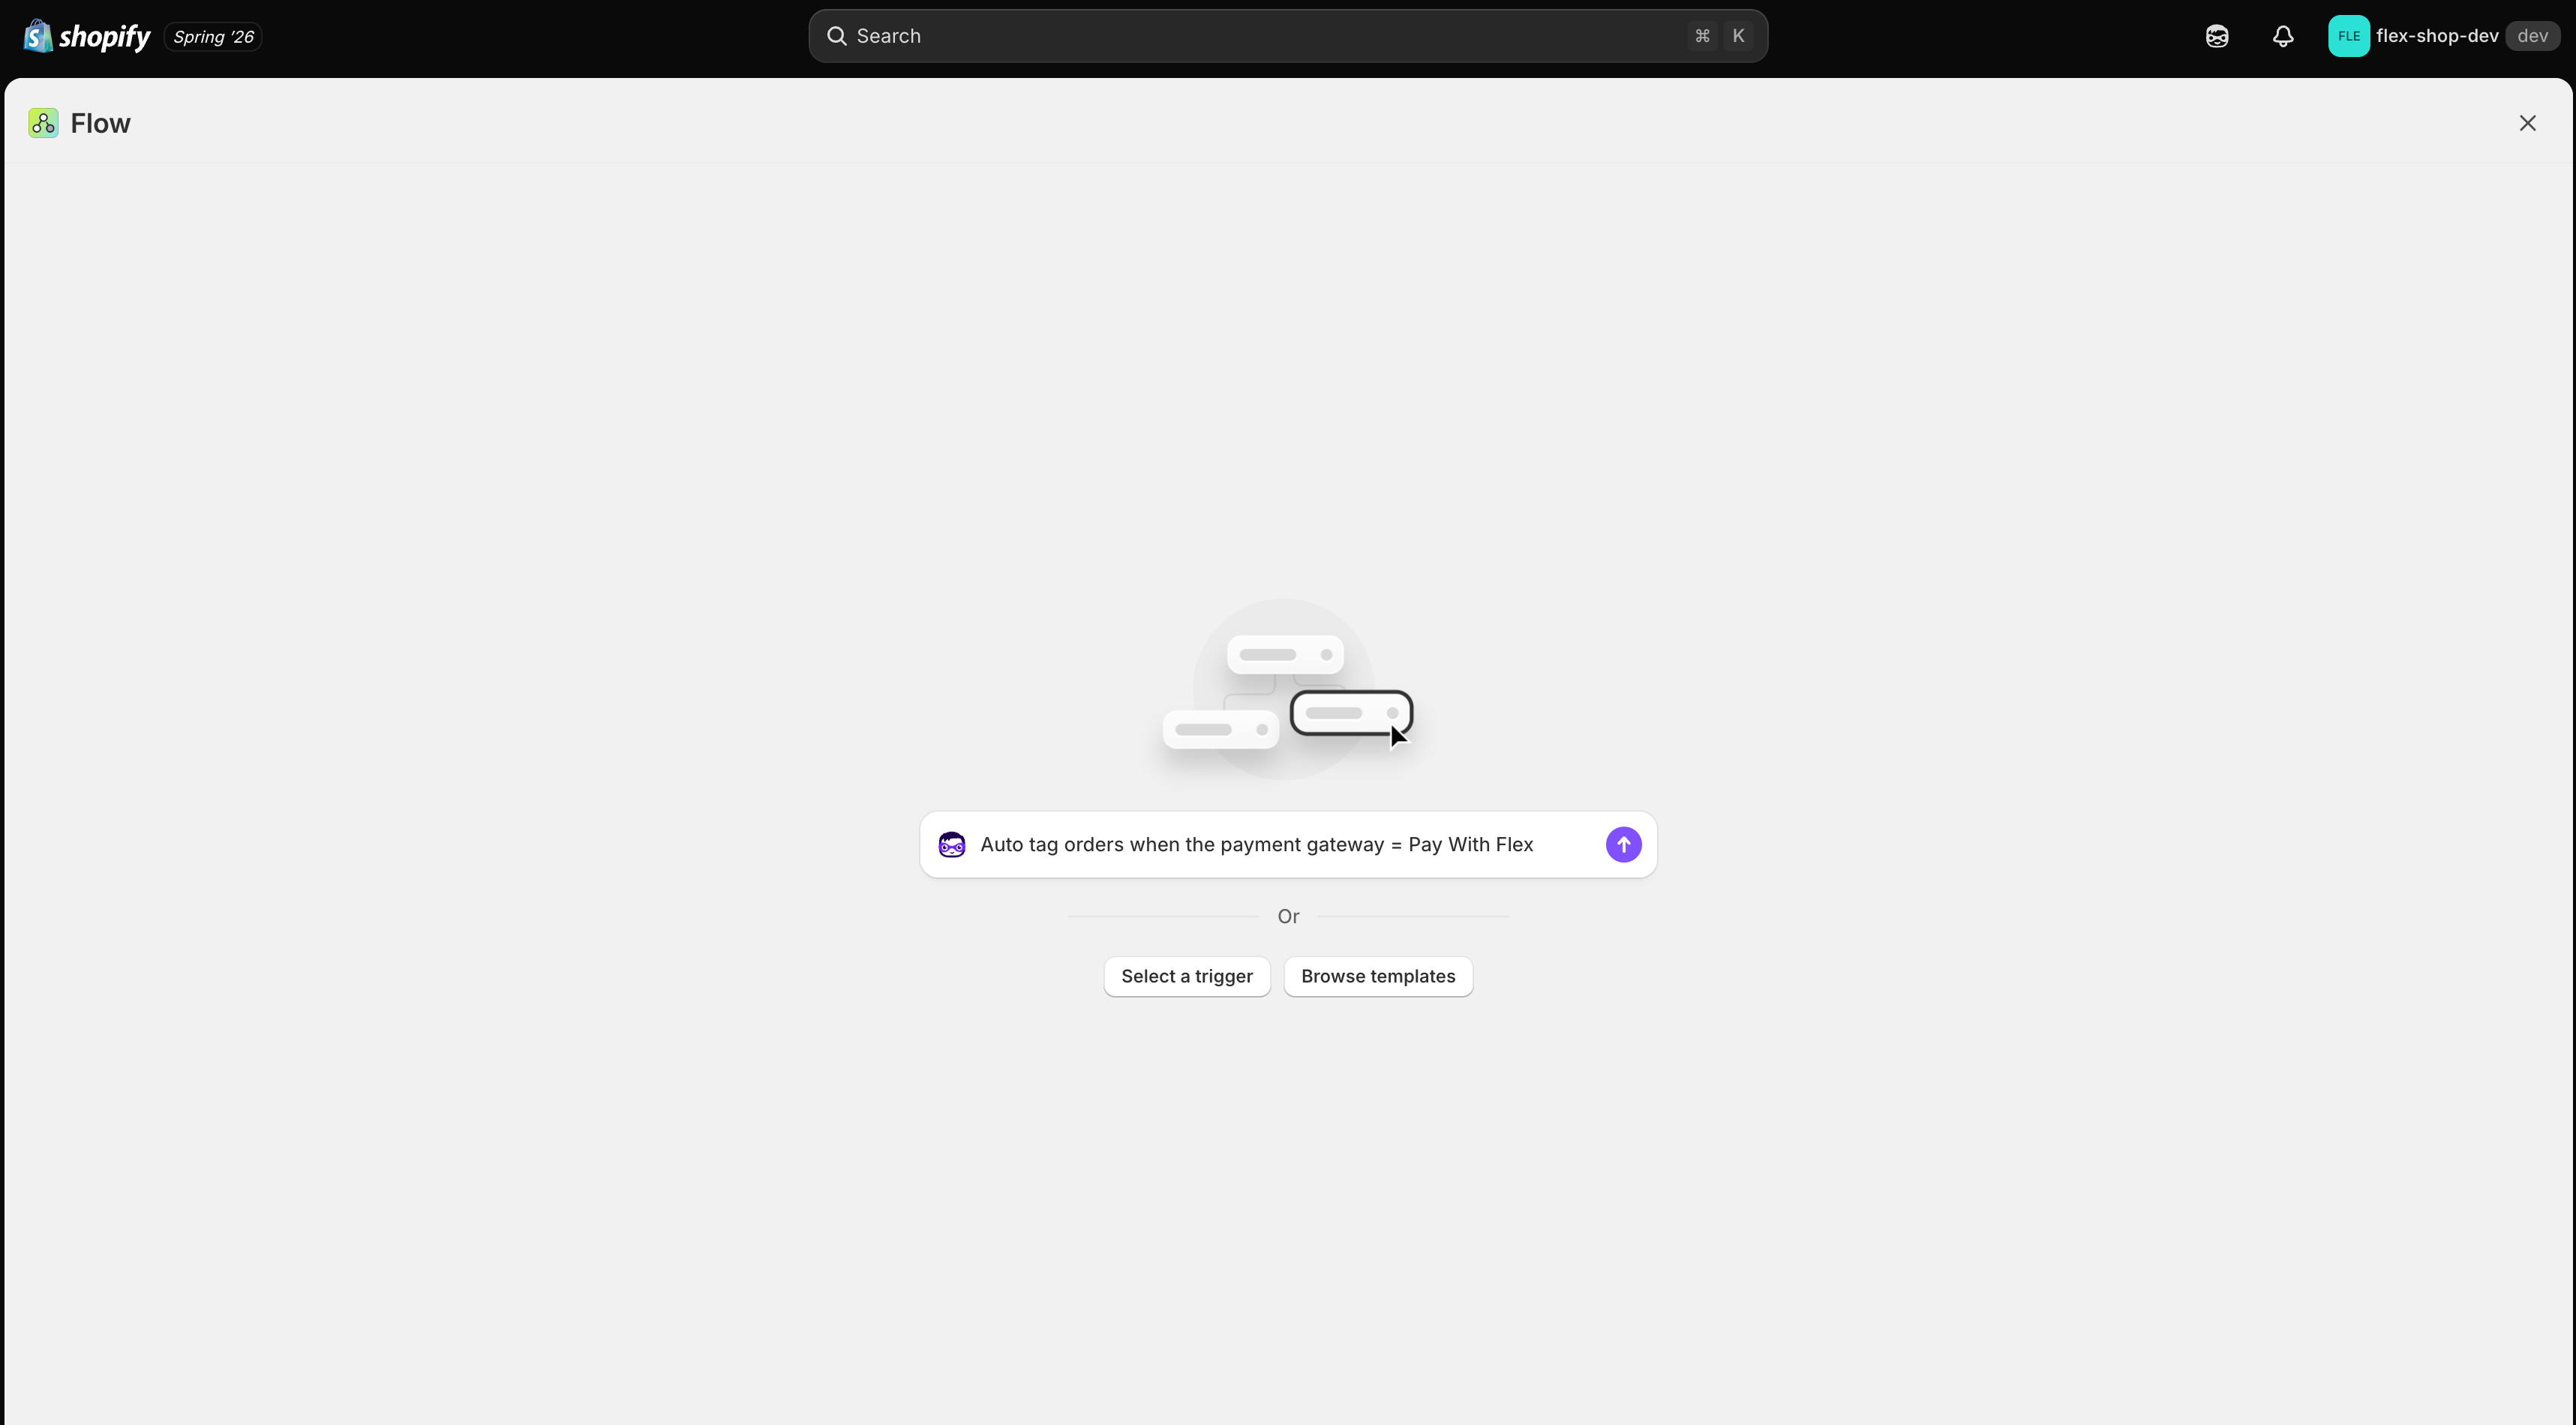
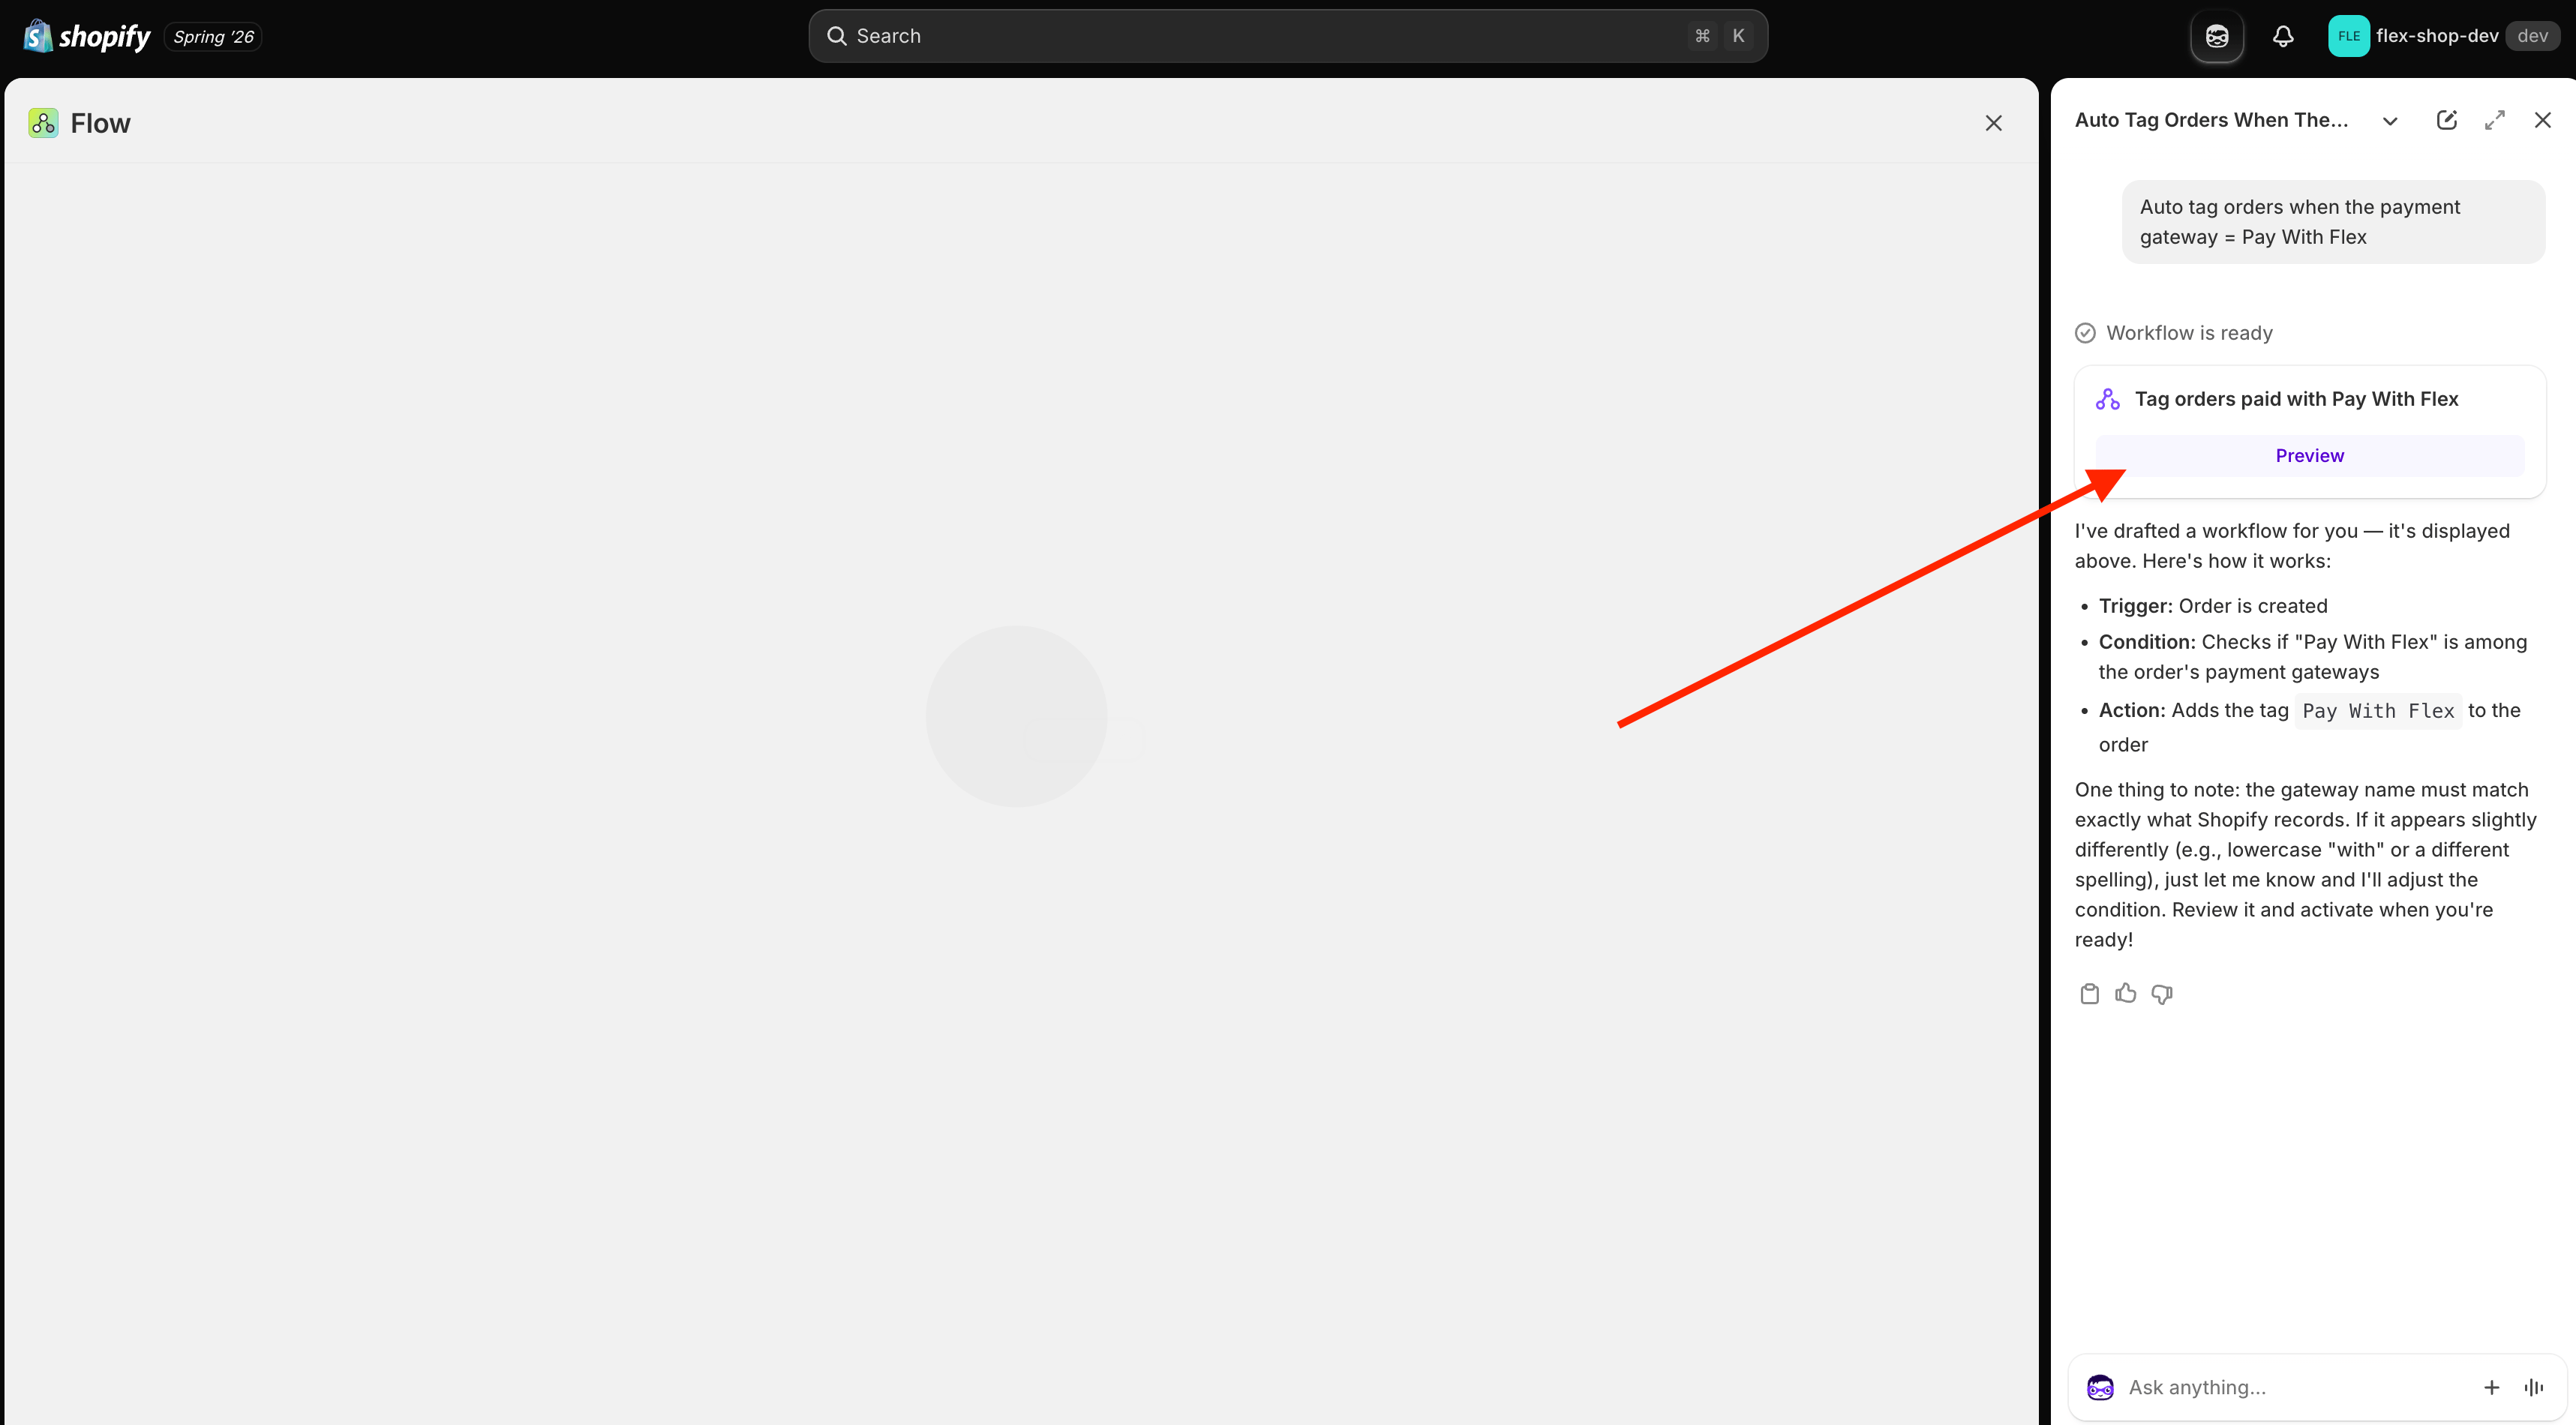
Verify the flow steps
Confirm the workflow includes these steps:
- Order created: The workflow runs whenever a new order is created.
- Condition: Payment gateway name is equal to Pay With Flex.
-
Add order tags: Adds the tag
flex-hsa-fsa. You can change this to any tag you prefer.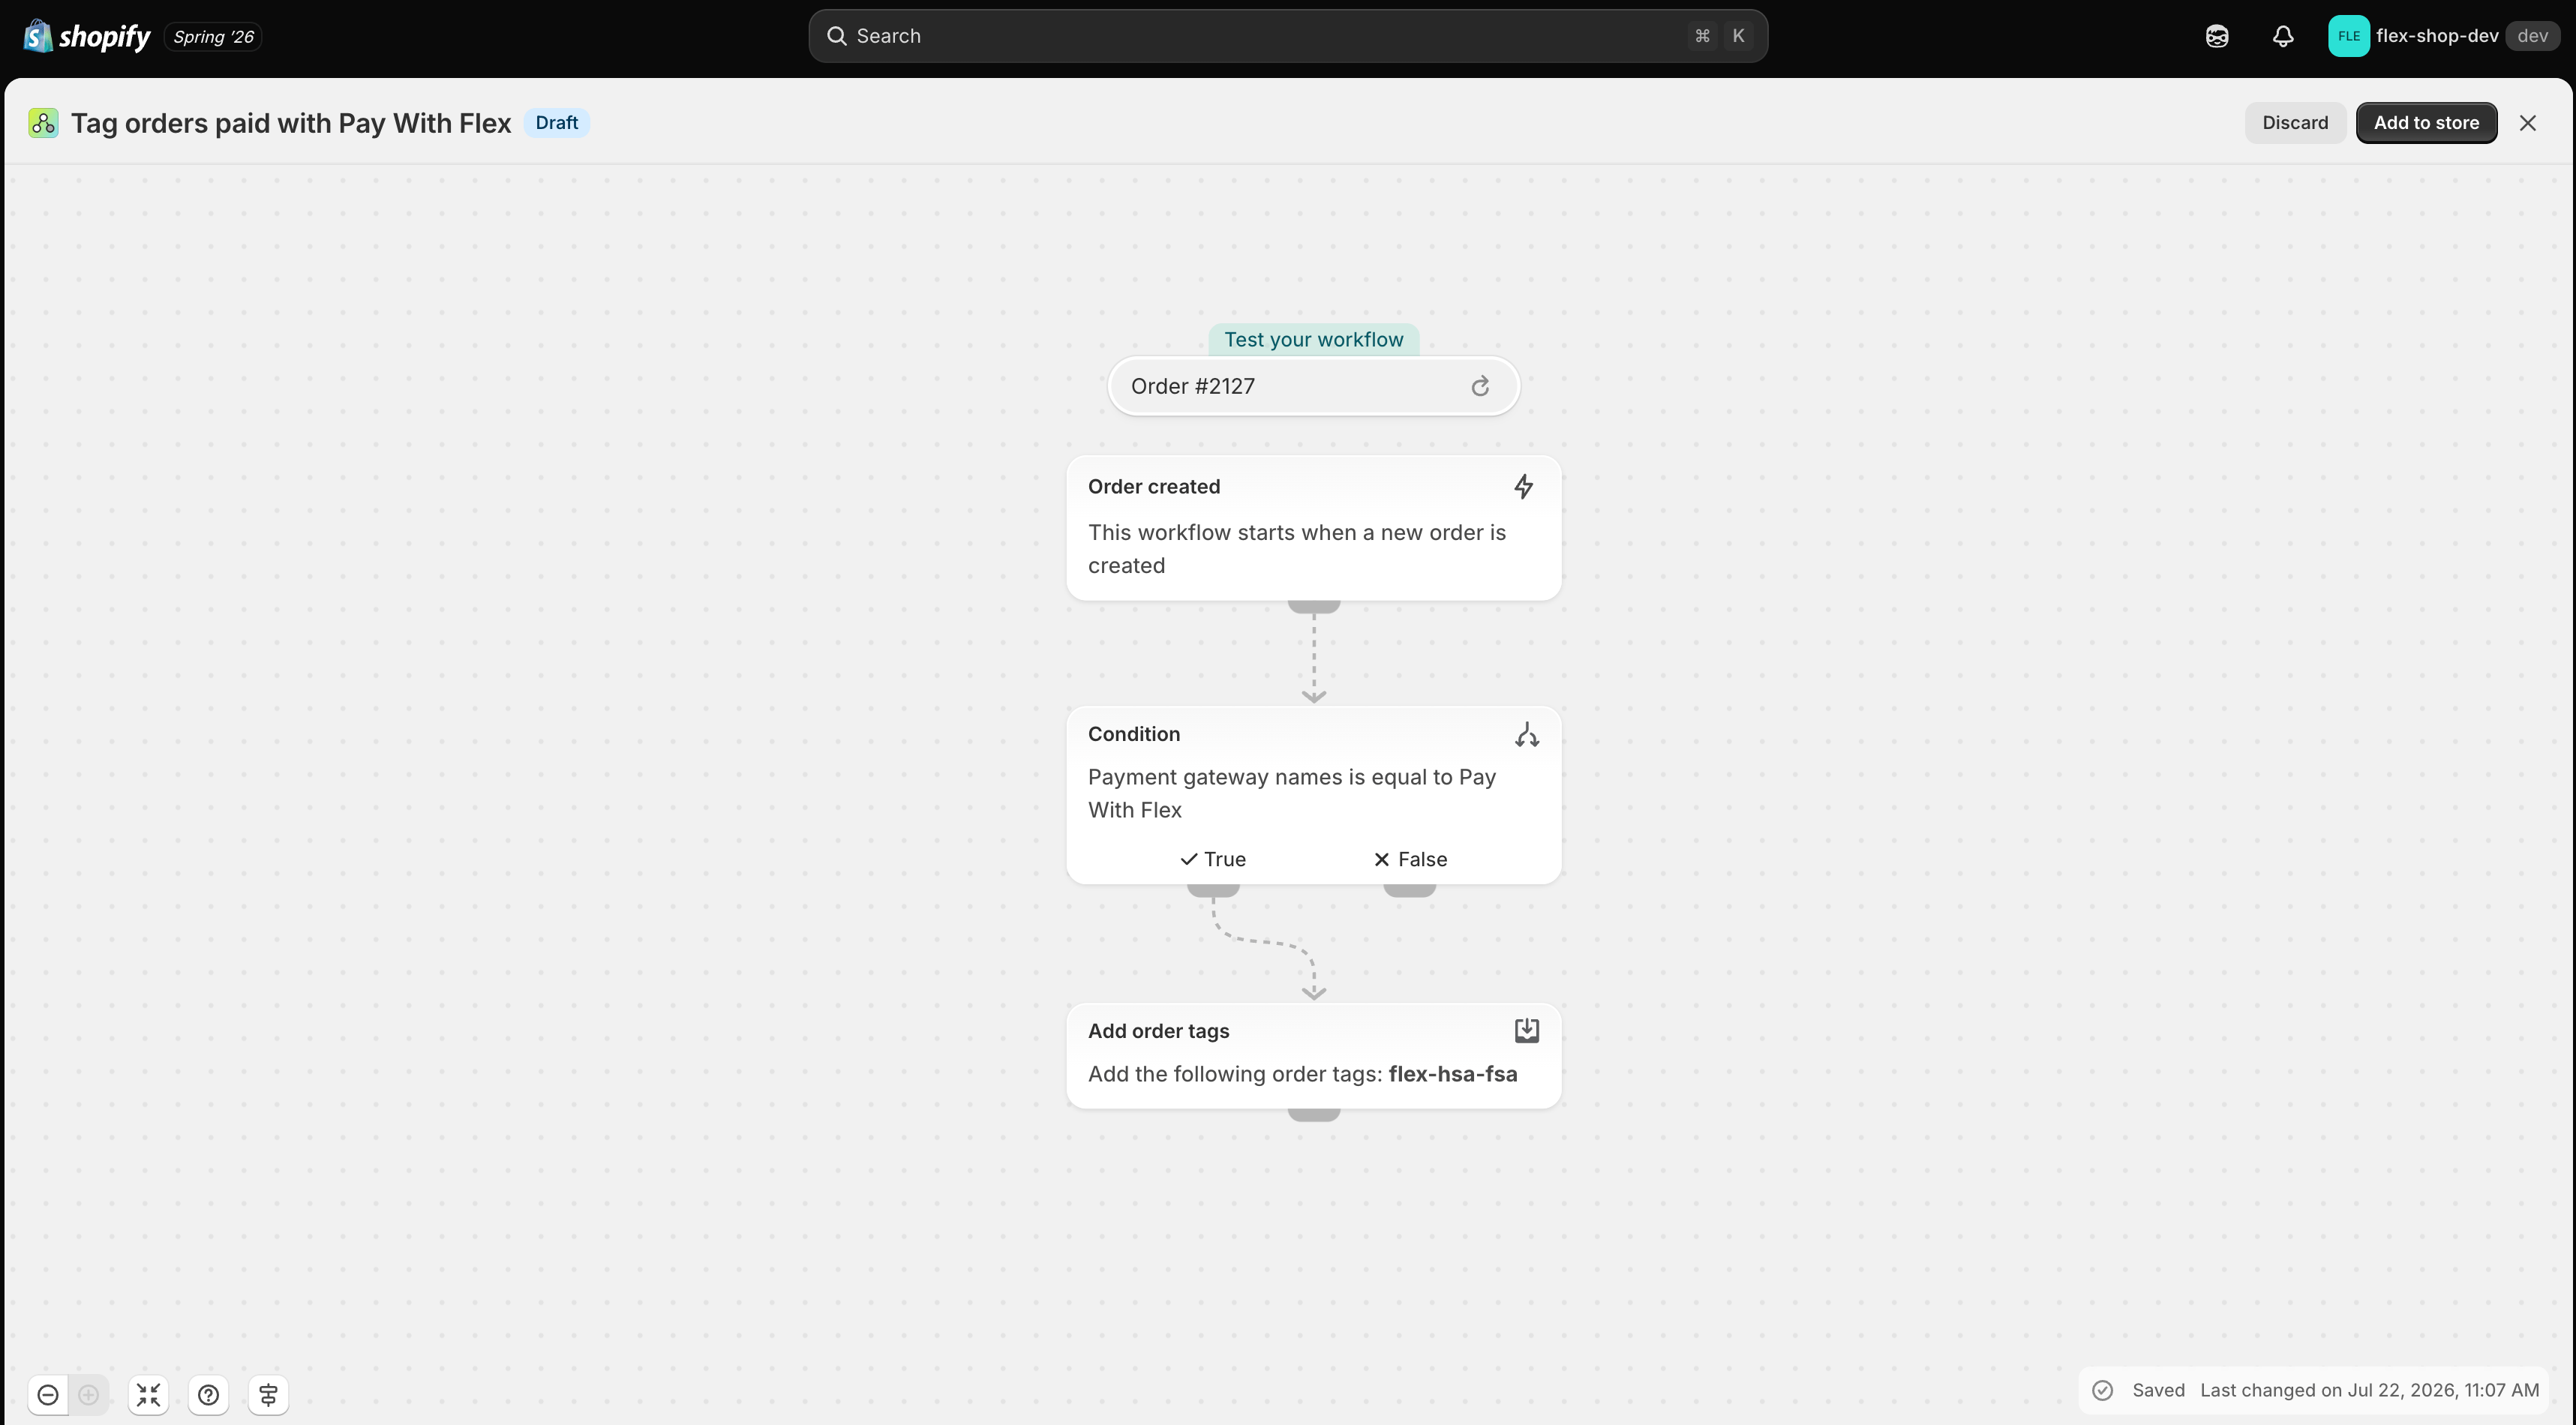
Verify your next Flex order is tagged
On your next Flex order, open the order and check the Notes section for the payment gateway. If the gateway is Pay With Flex, the order will now carry your tag.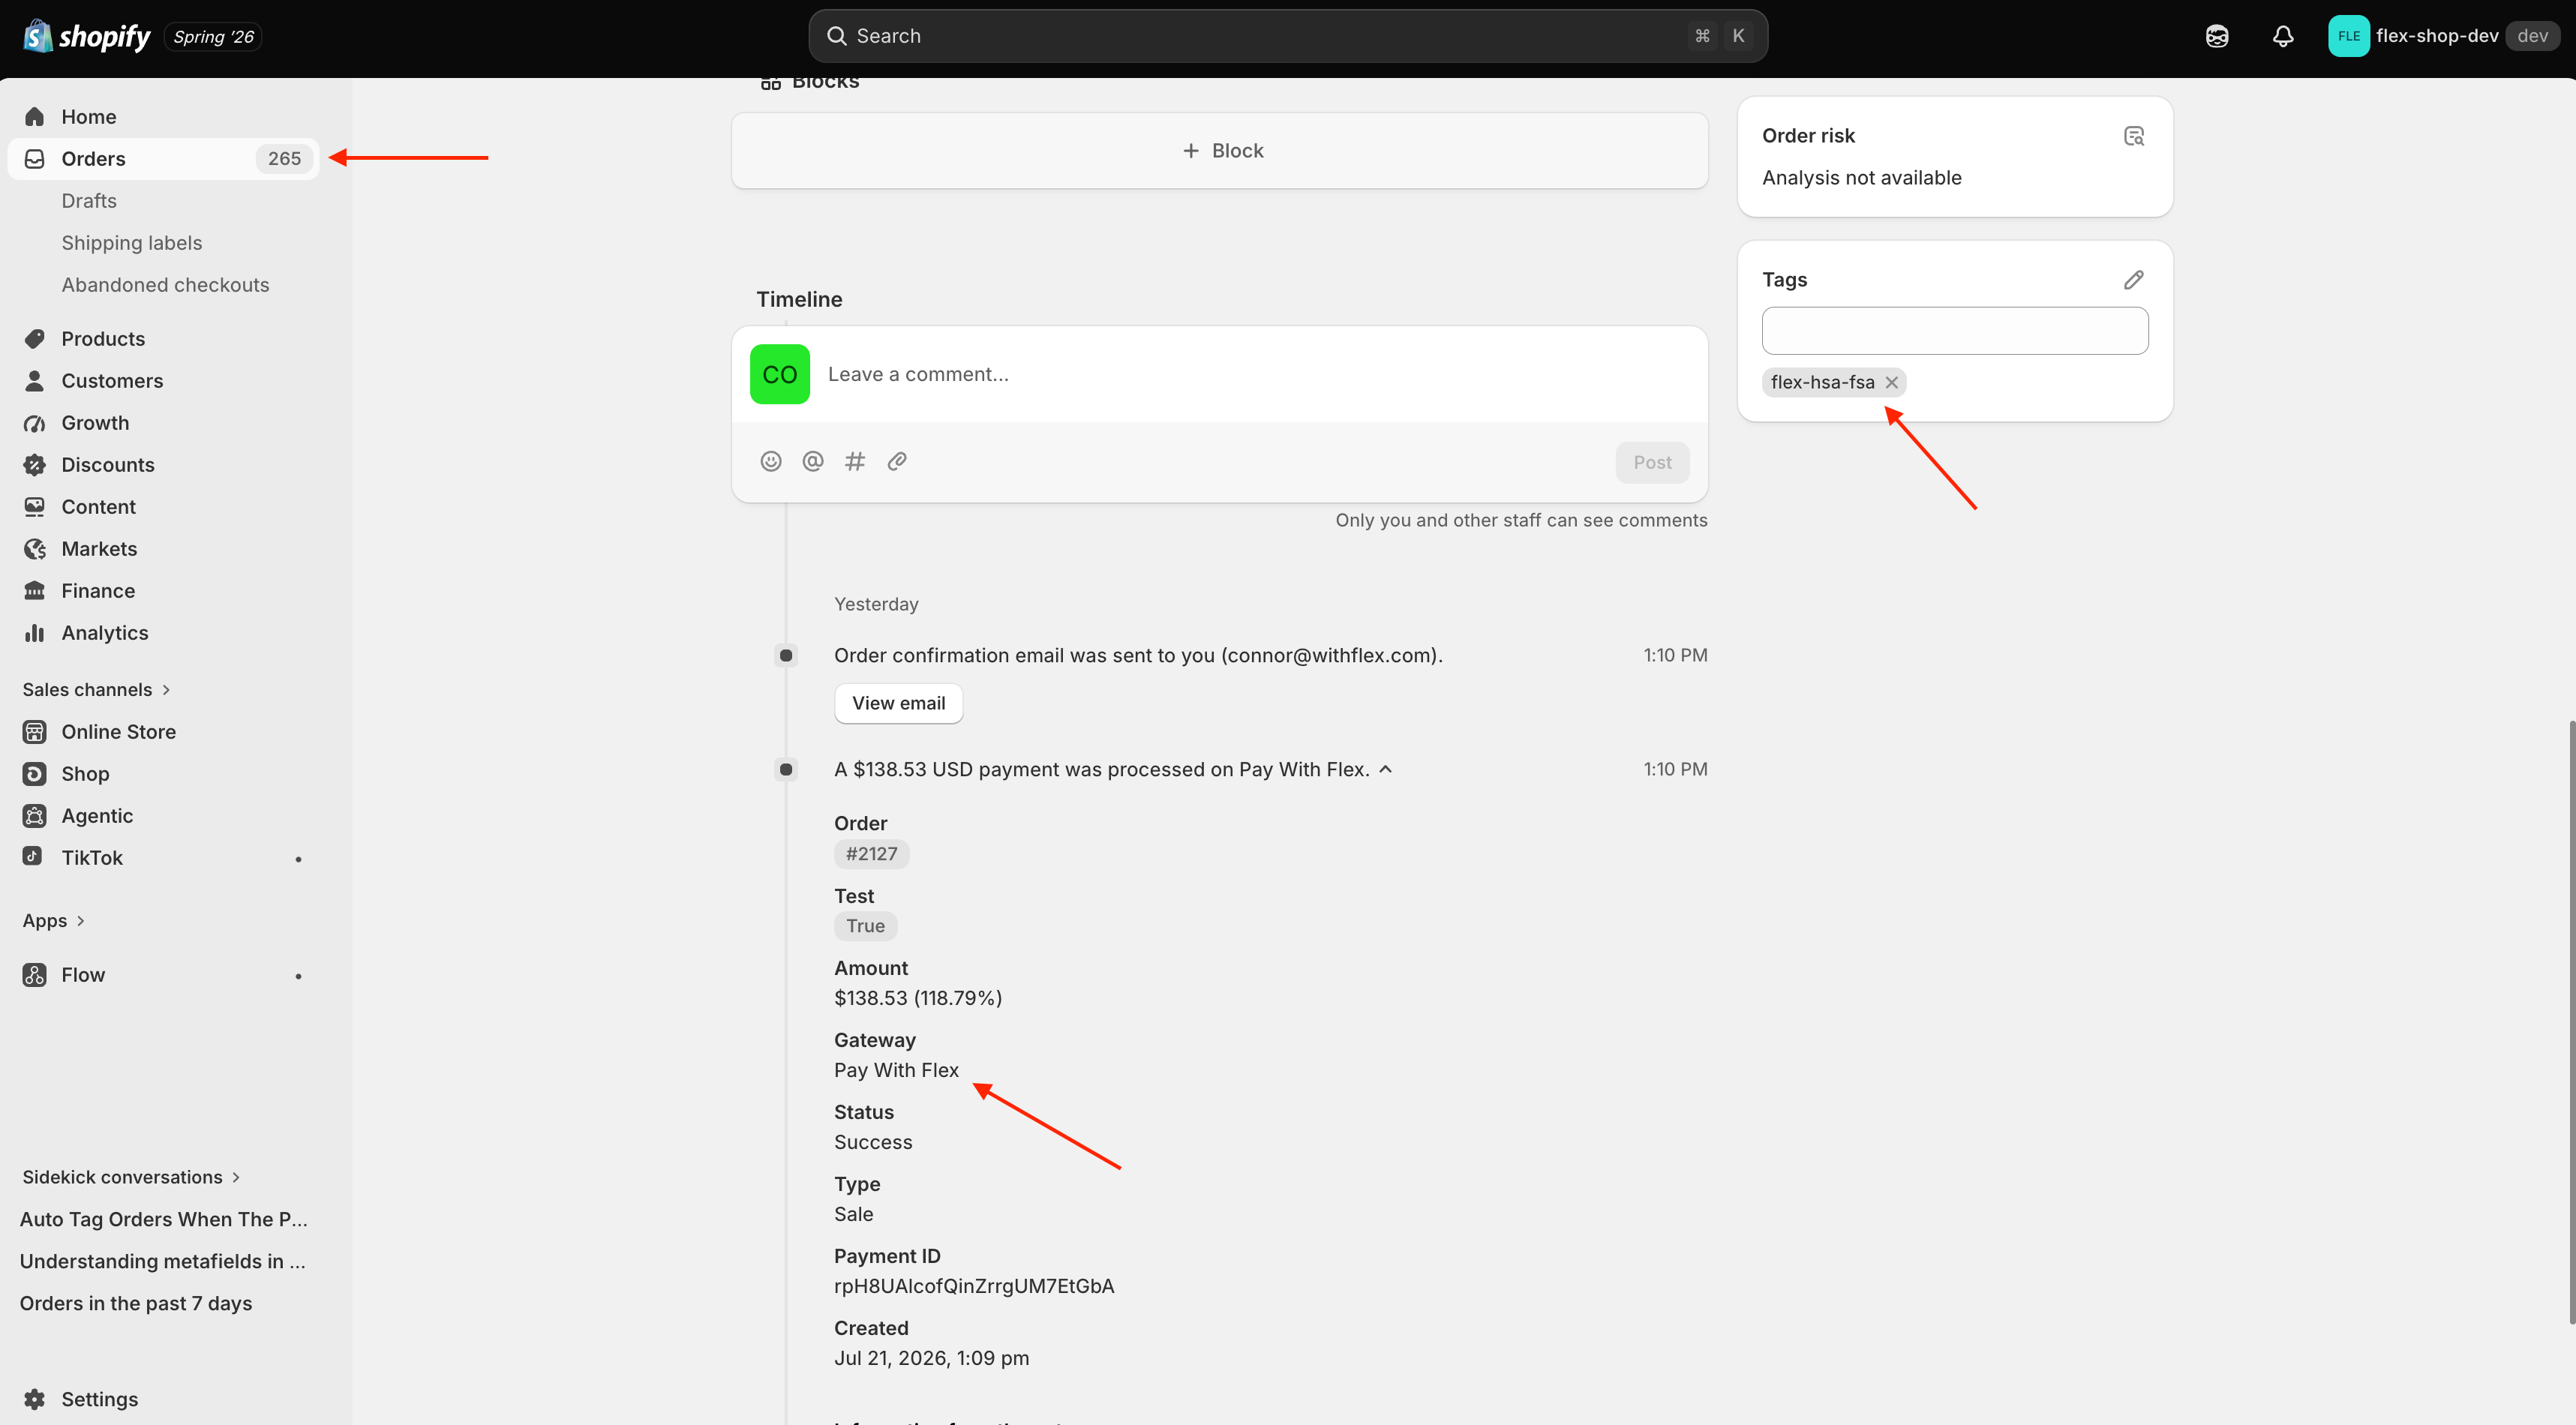
Flow tags orders going forward only. Orders placed before you turned the workflow on won’t be tagged retroactively.
Install the Flex Extensions app
The Flex Extensions app (formerly Flex Marketing) is required for HSA/FSA checkout. It syncs your catalog to Flex, keeps HSA/FSA eligibility up to date on your products, and adds eligibility badges and blocks to your storefront.